Floor Preparation - A Vital Part Of A Perfect Herringbone Wood Floor.
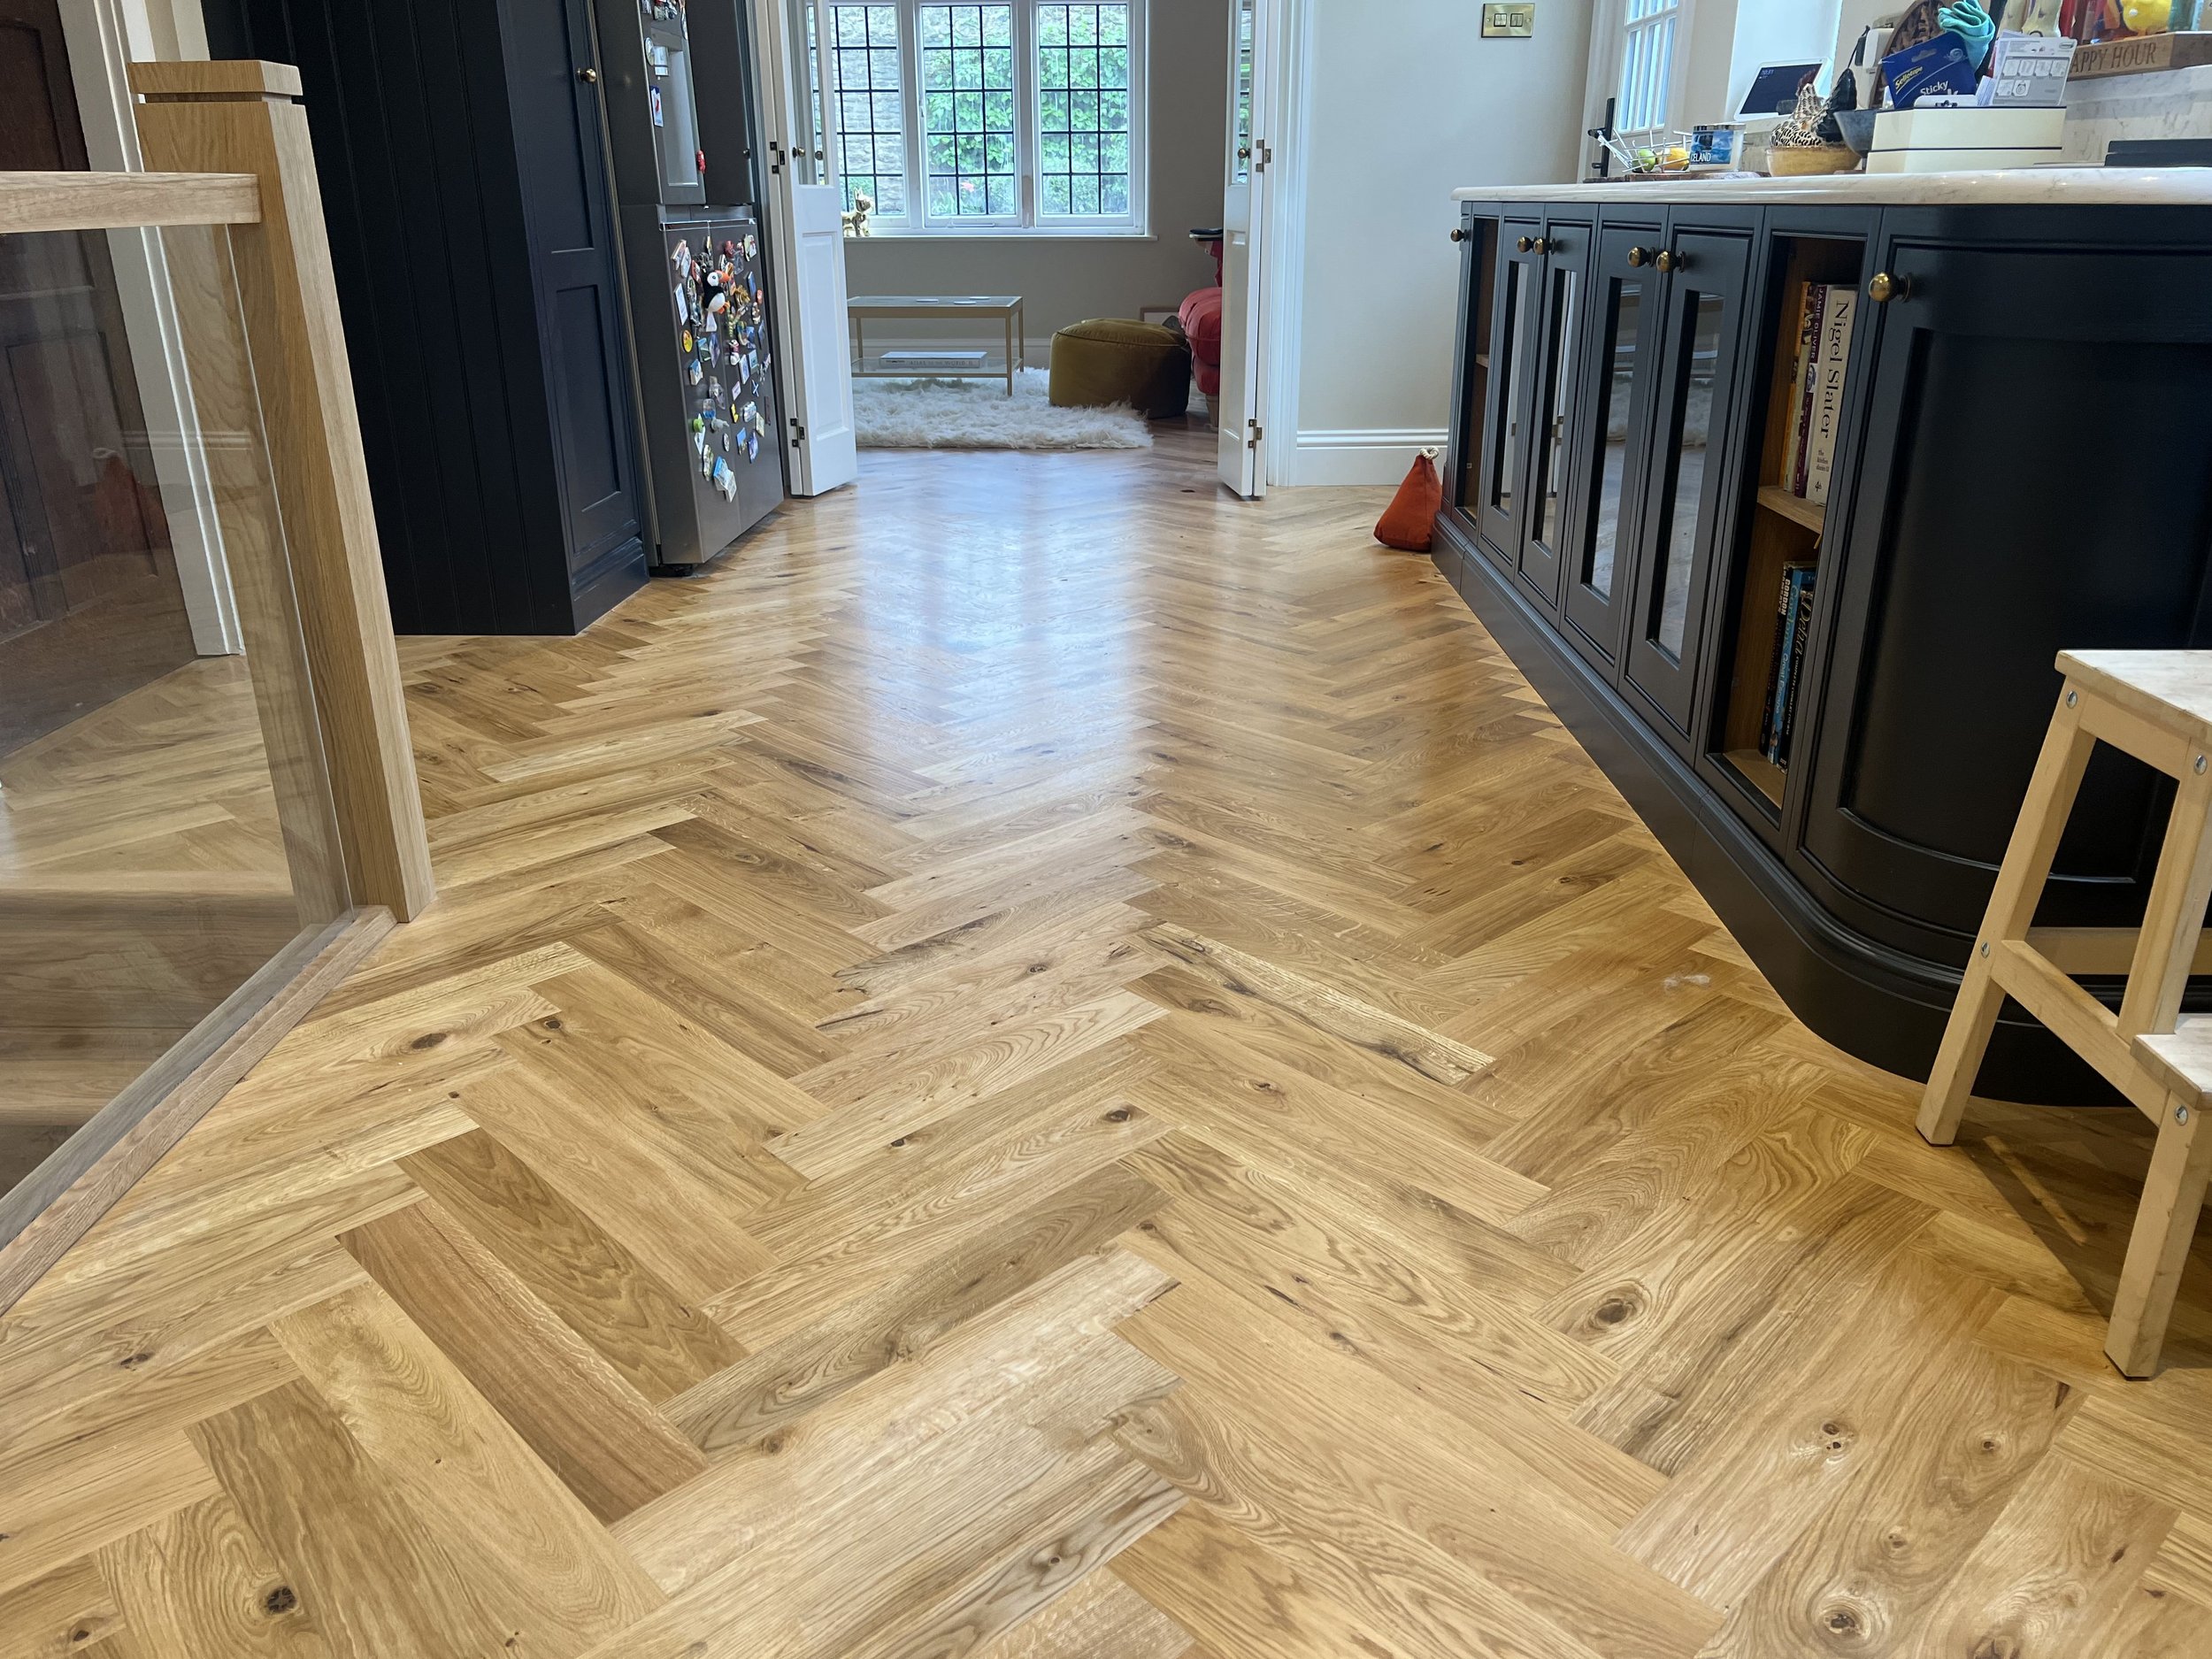
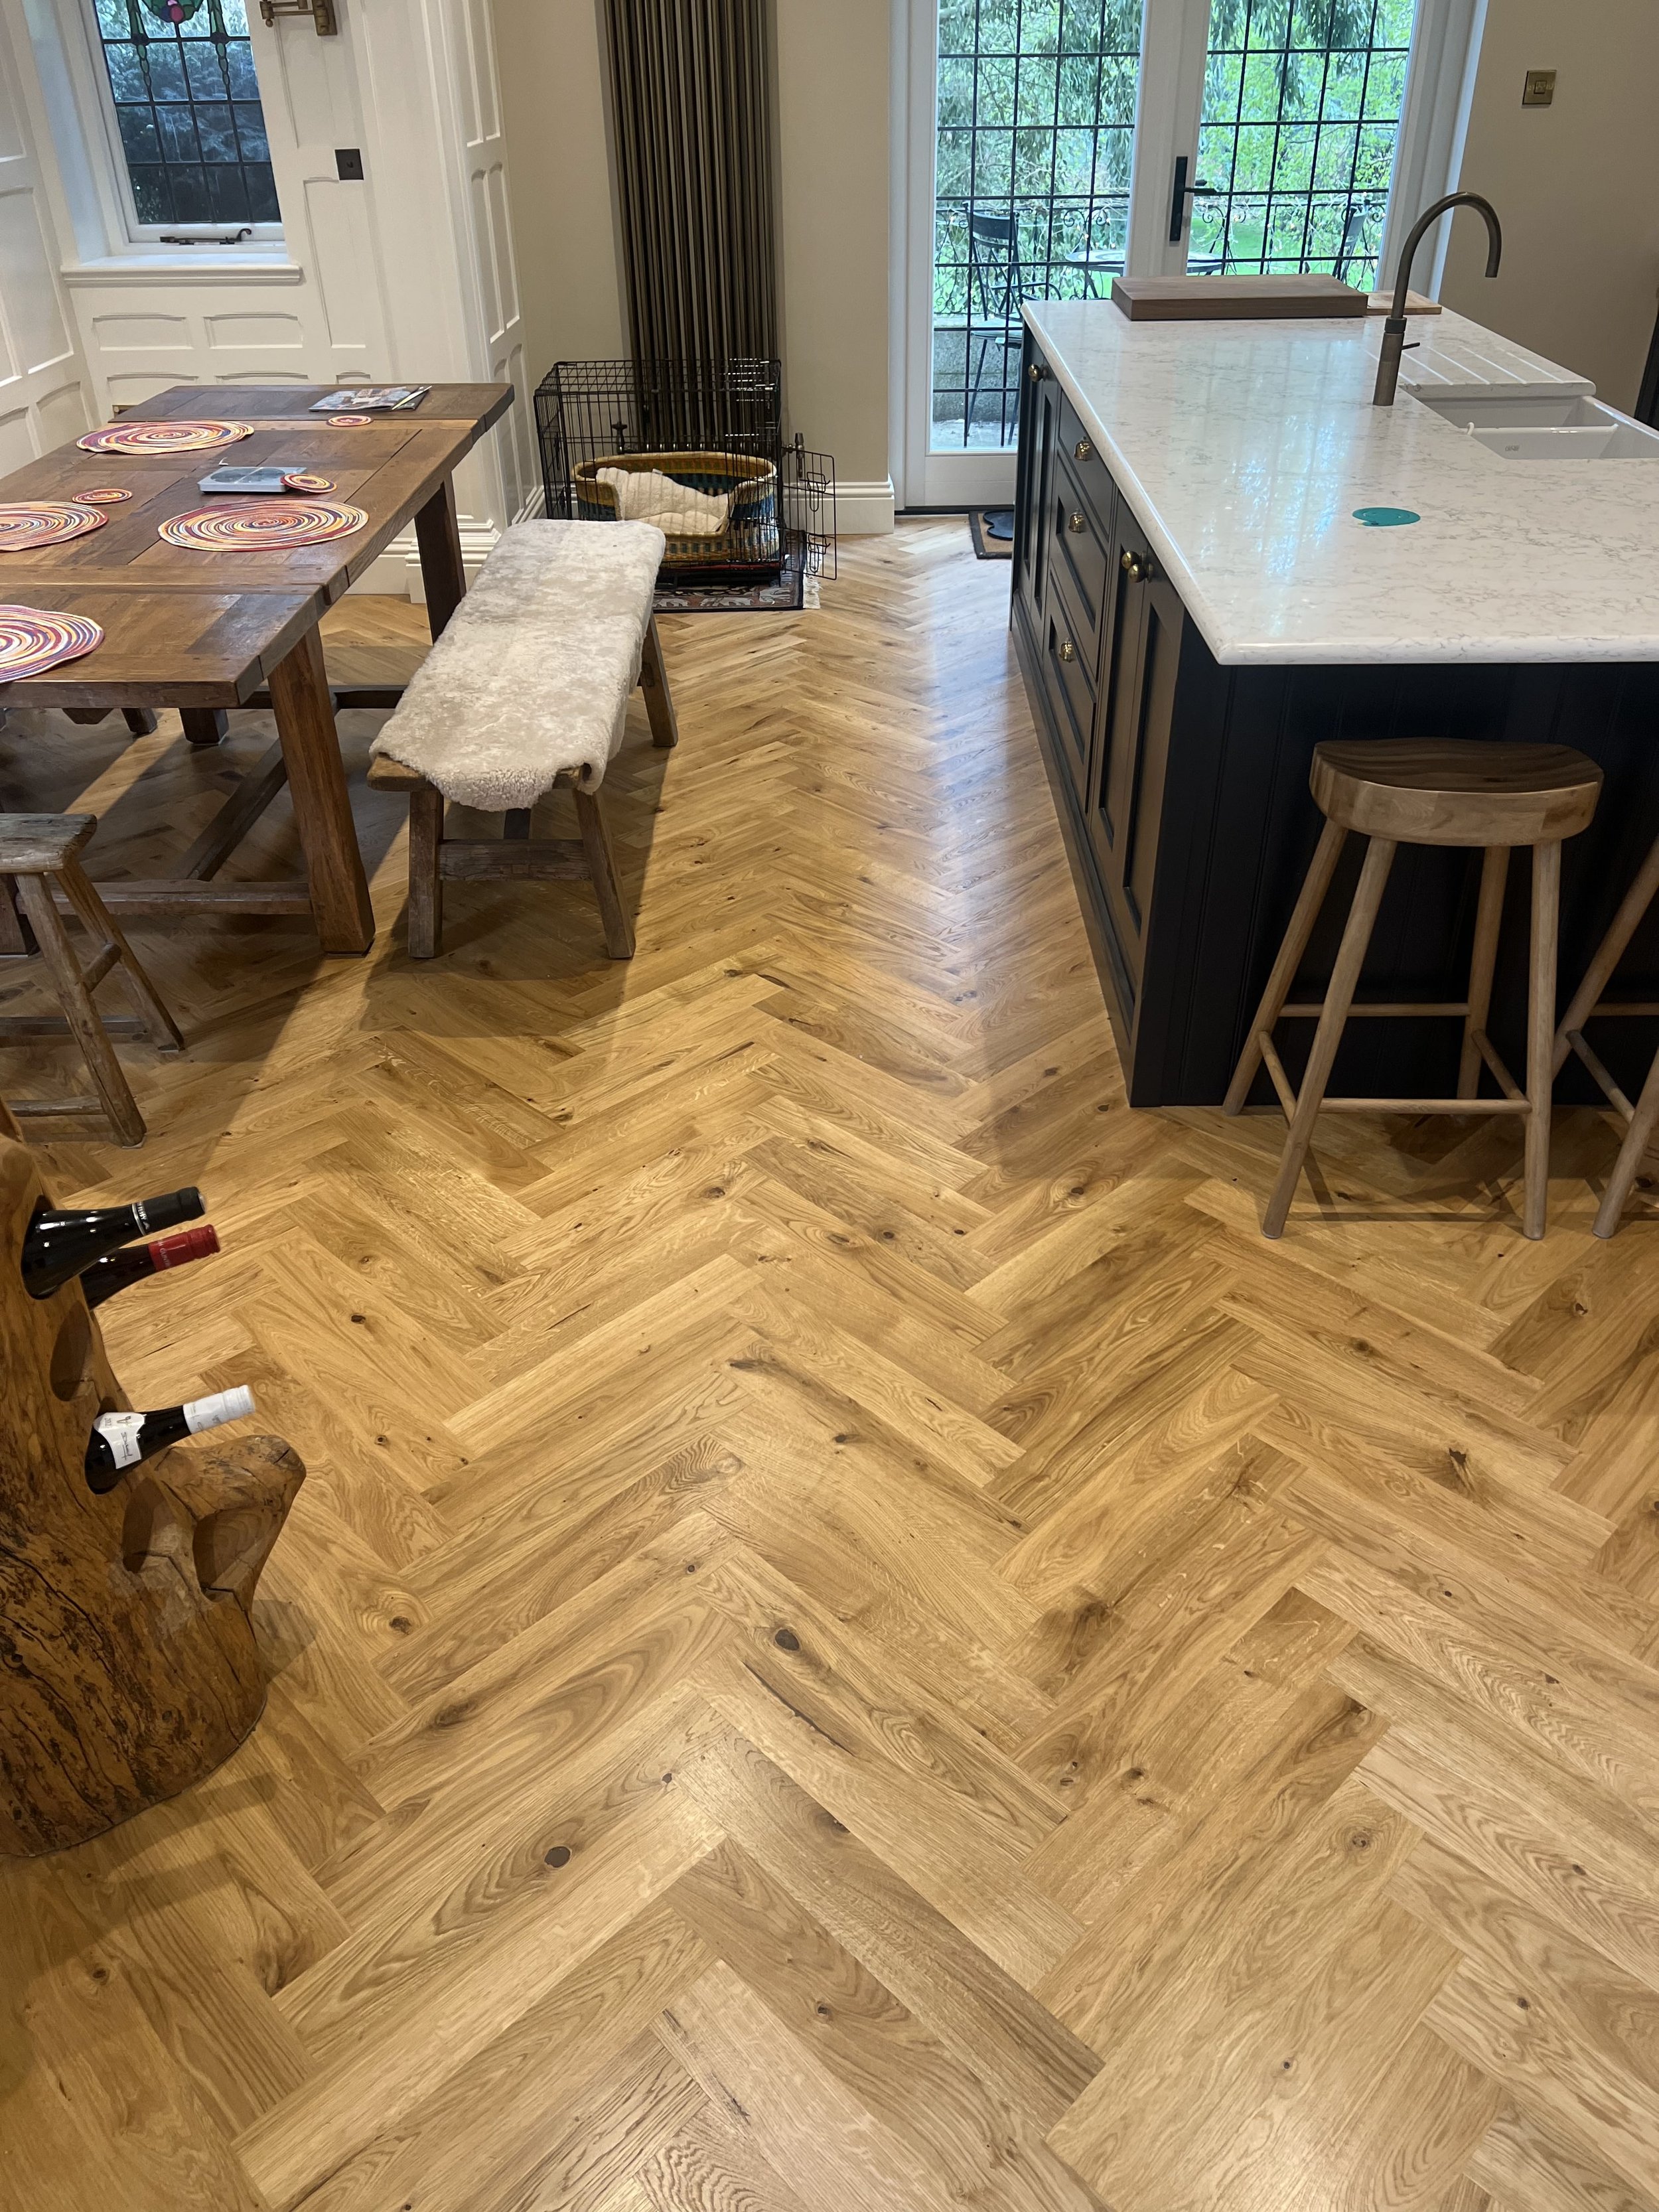
PDQ recently completed this stunning herringbone floor to the entire downstairs for one of our fantastic customers in Northampton. We also cladded their stairs in oak- but the fitting and finishing of this stunning flooring, was not the beginning of the story…
It’s All In The Preparation.
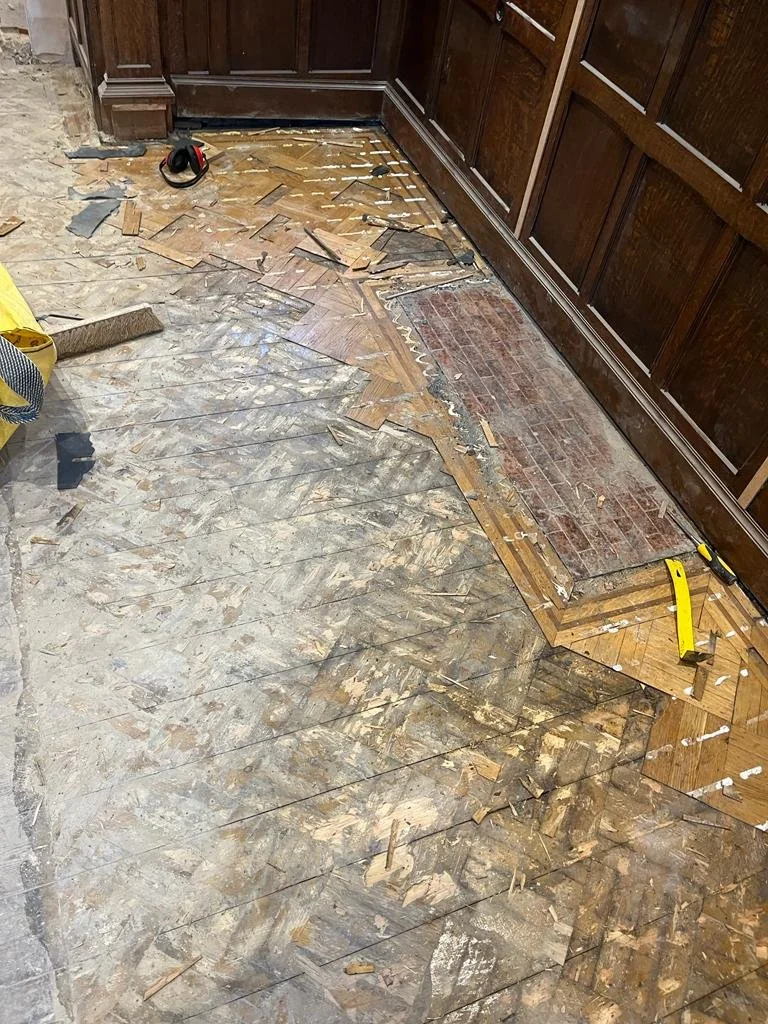
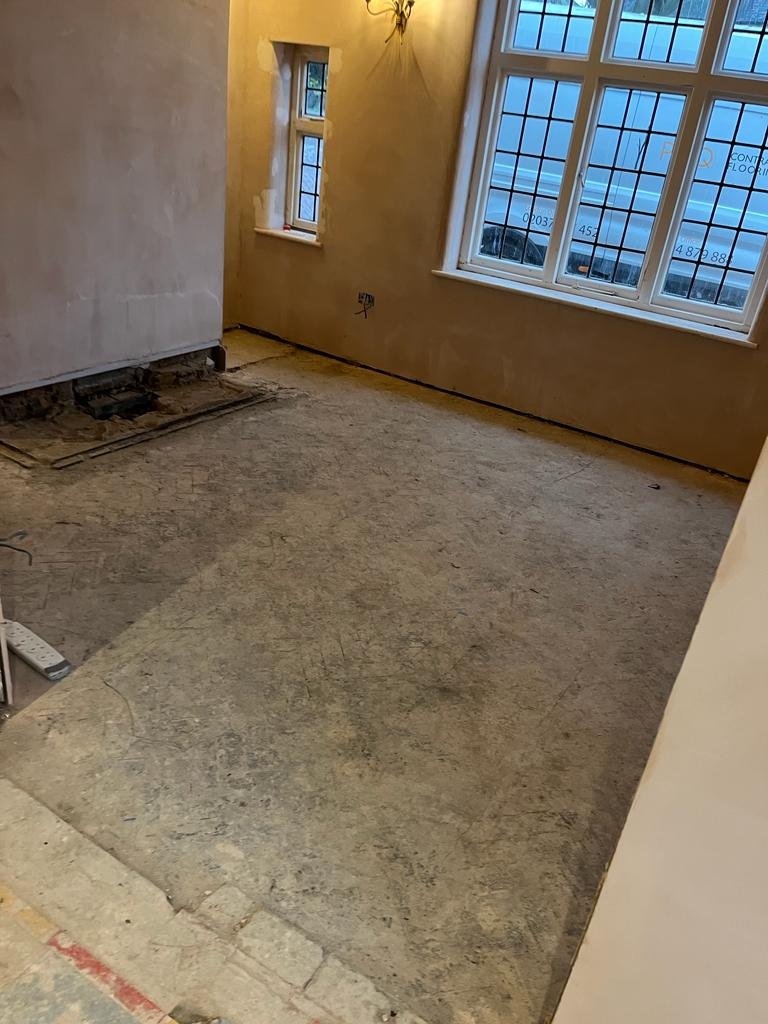
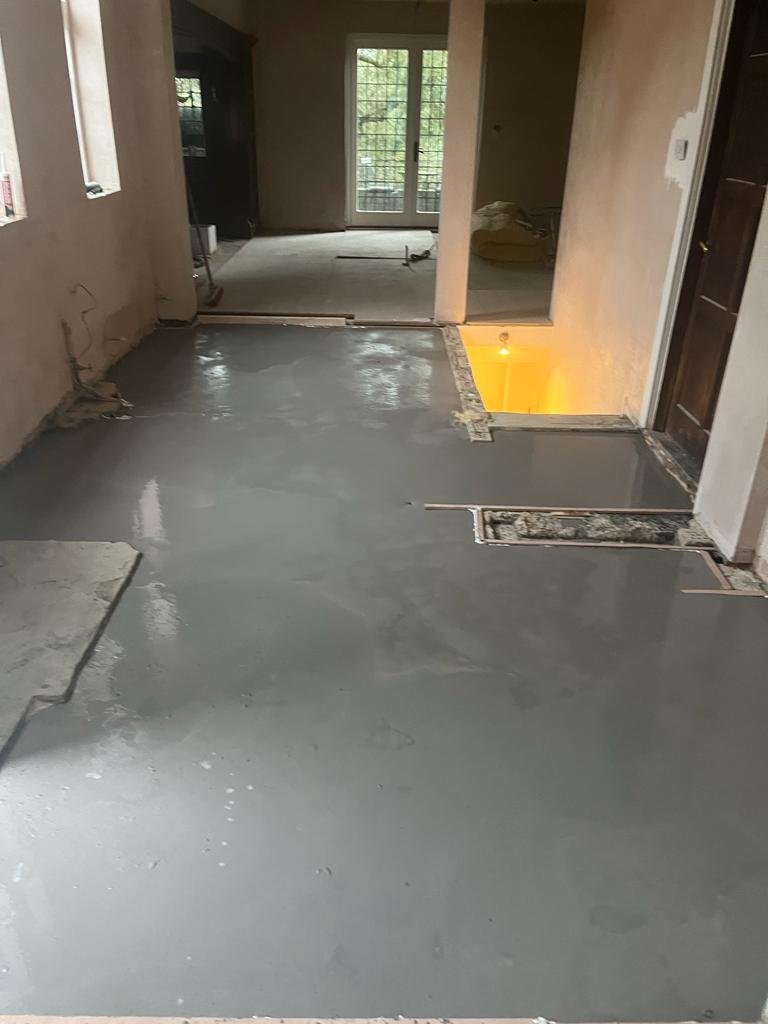
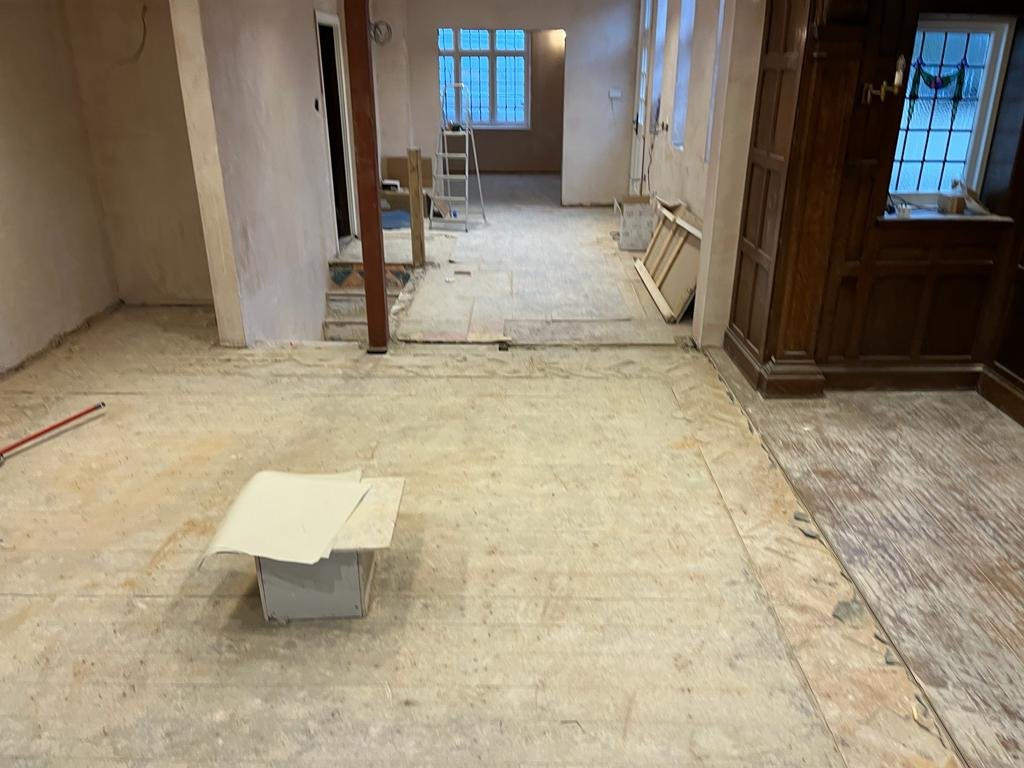
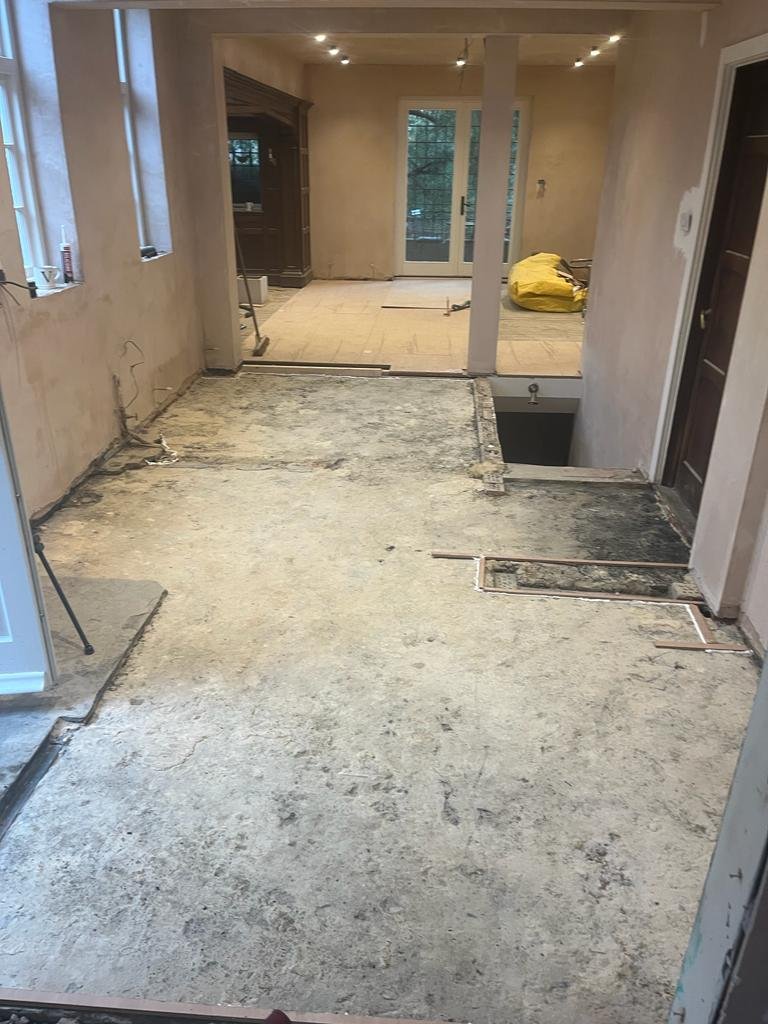
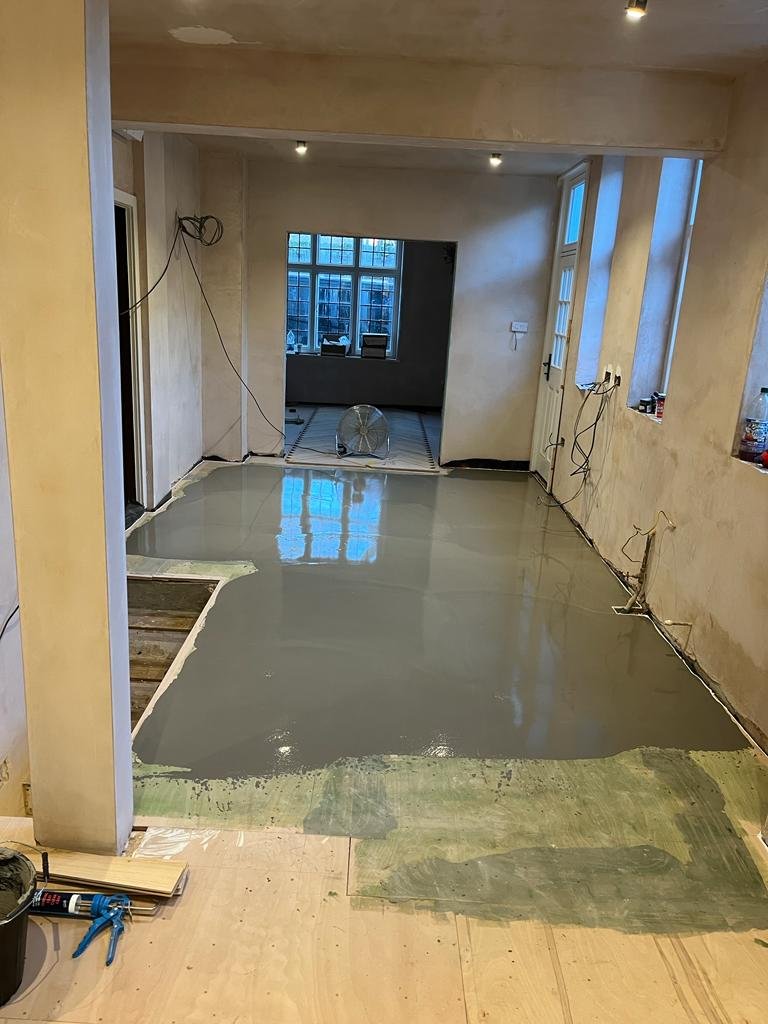
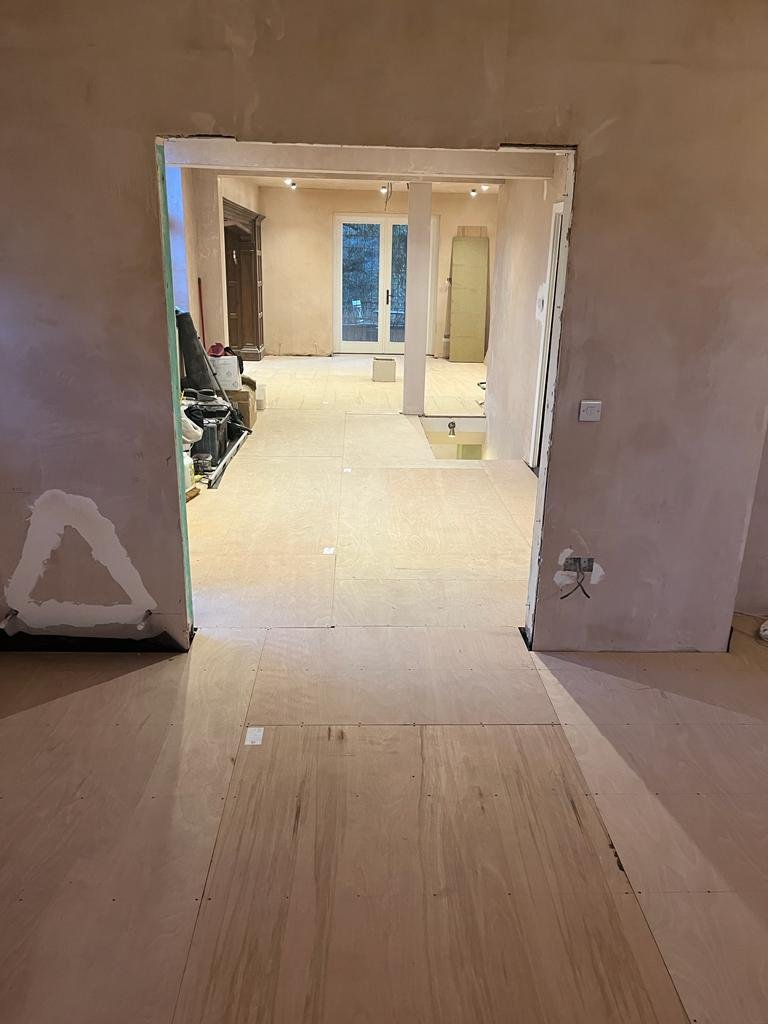
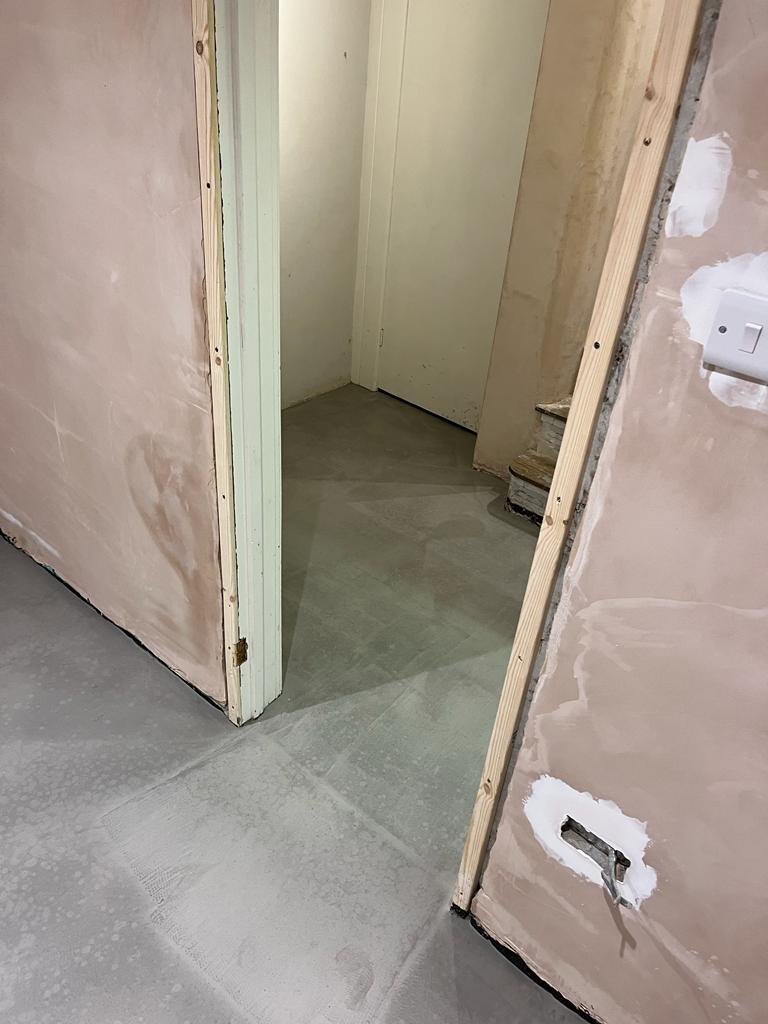
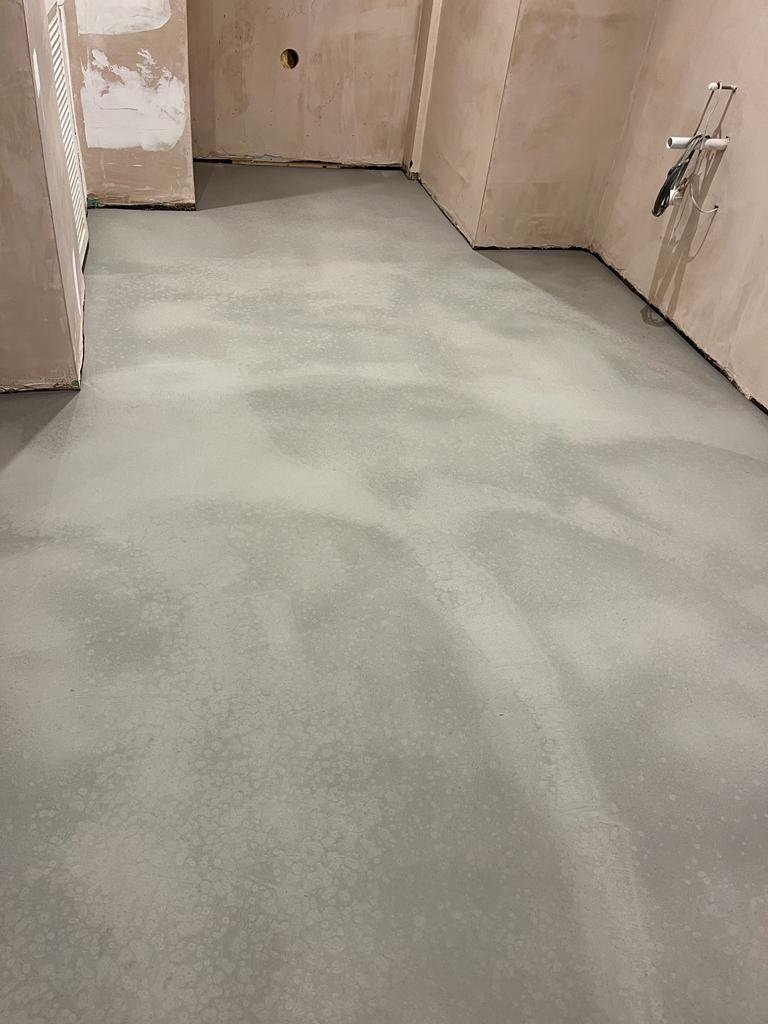
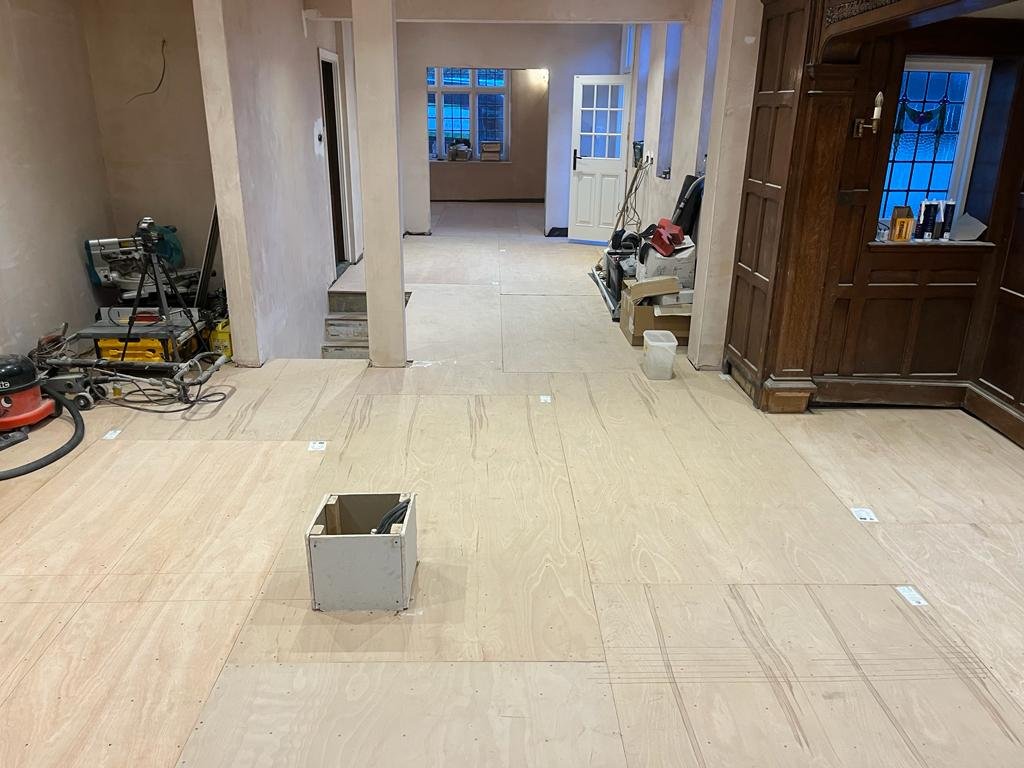
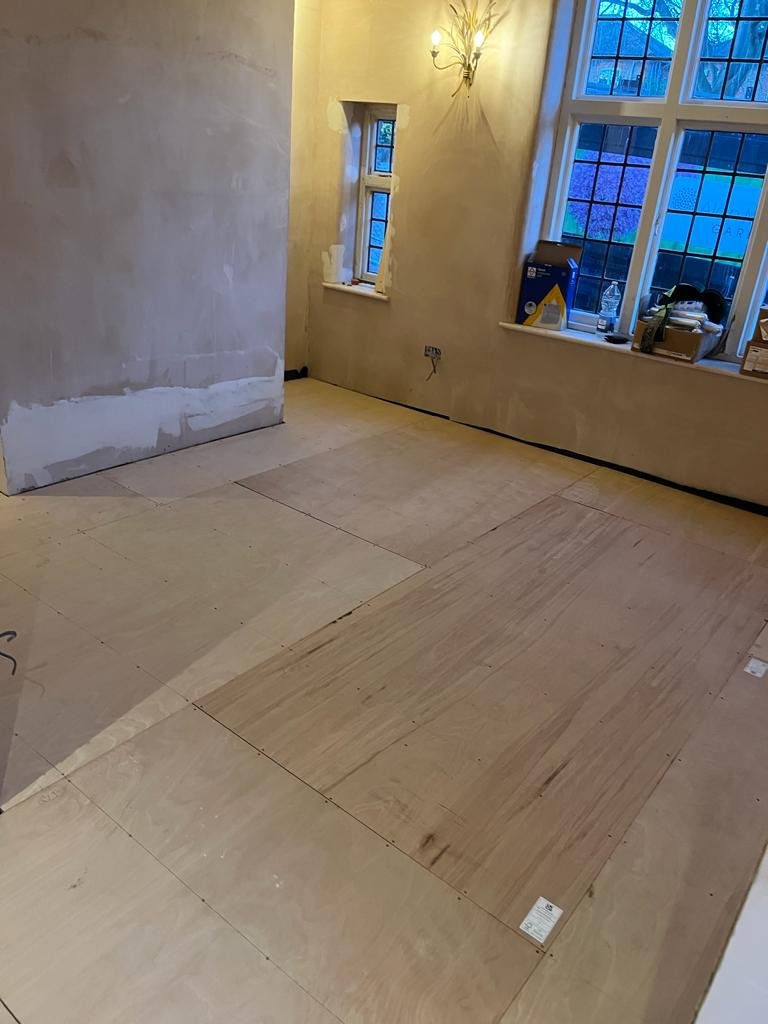
It’s an age old saying, but for this job - sub floor preparation was especially critical as the sub floor for a herringbone floor has to be very flat for it to work. As we were working over most of the ground floor (which had 3 different levels with 2 different floor substrates) - these all had to be raised to one level. To do this our team worked hard to uplift an existing area of tiled floor, apply a F Ball F77 DPM (damp proof membrane) then apply F Ball StopGap 1200 levelling compound to bring it up to the level. For the dining room we had to fix down batons to get the levels elsewhere, then 12 mm ply was then fixed down to get a continuous level throughout. We also levelled other concrete areas of the downstairs with screed and a DPM. Quite a process, but an essential part in getting a perfect herringbone floor!

Fitting, Sanding & Oiling The Floor And Stairs
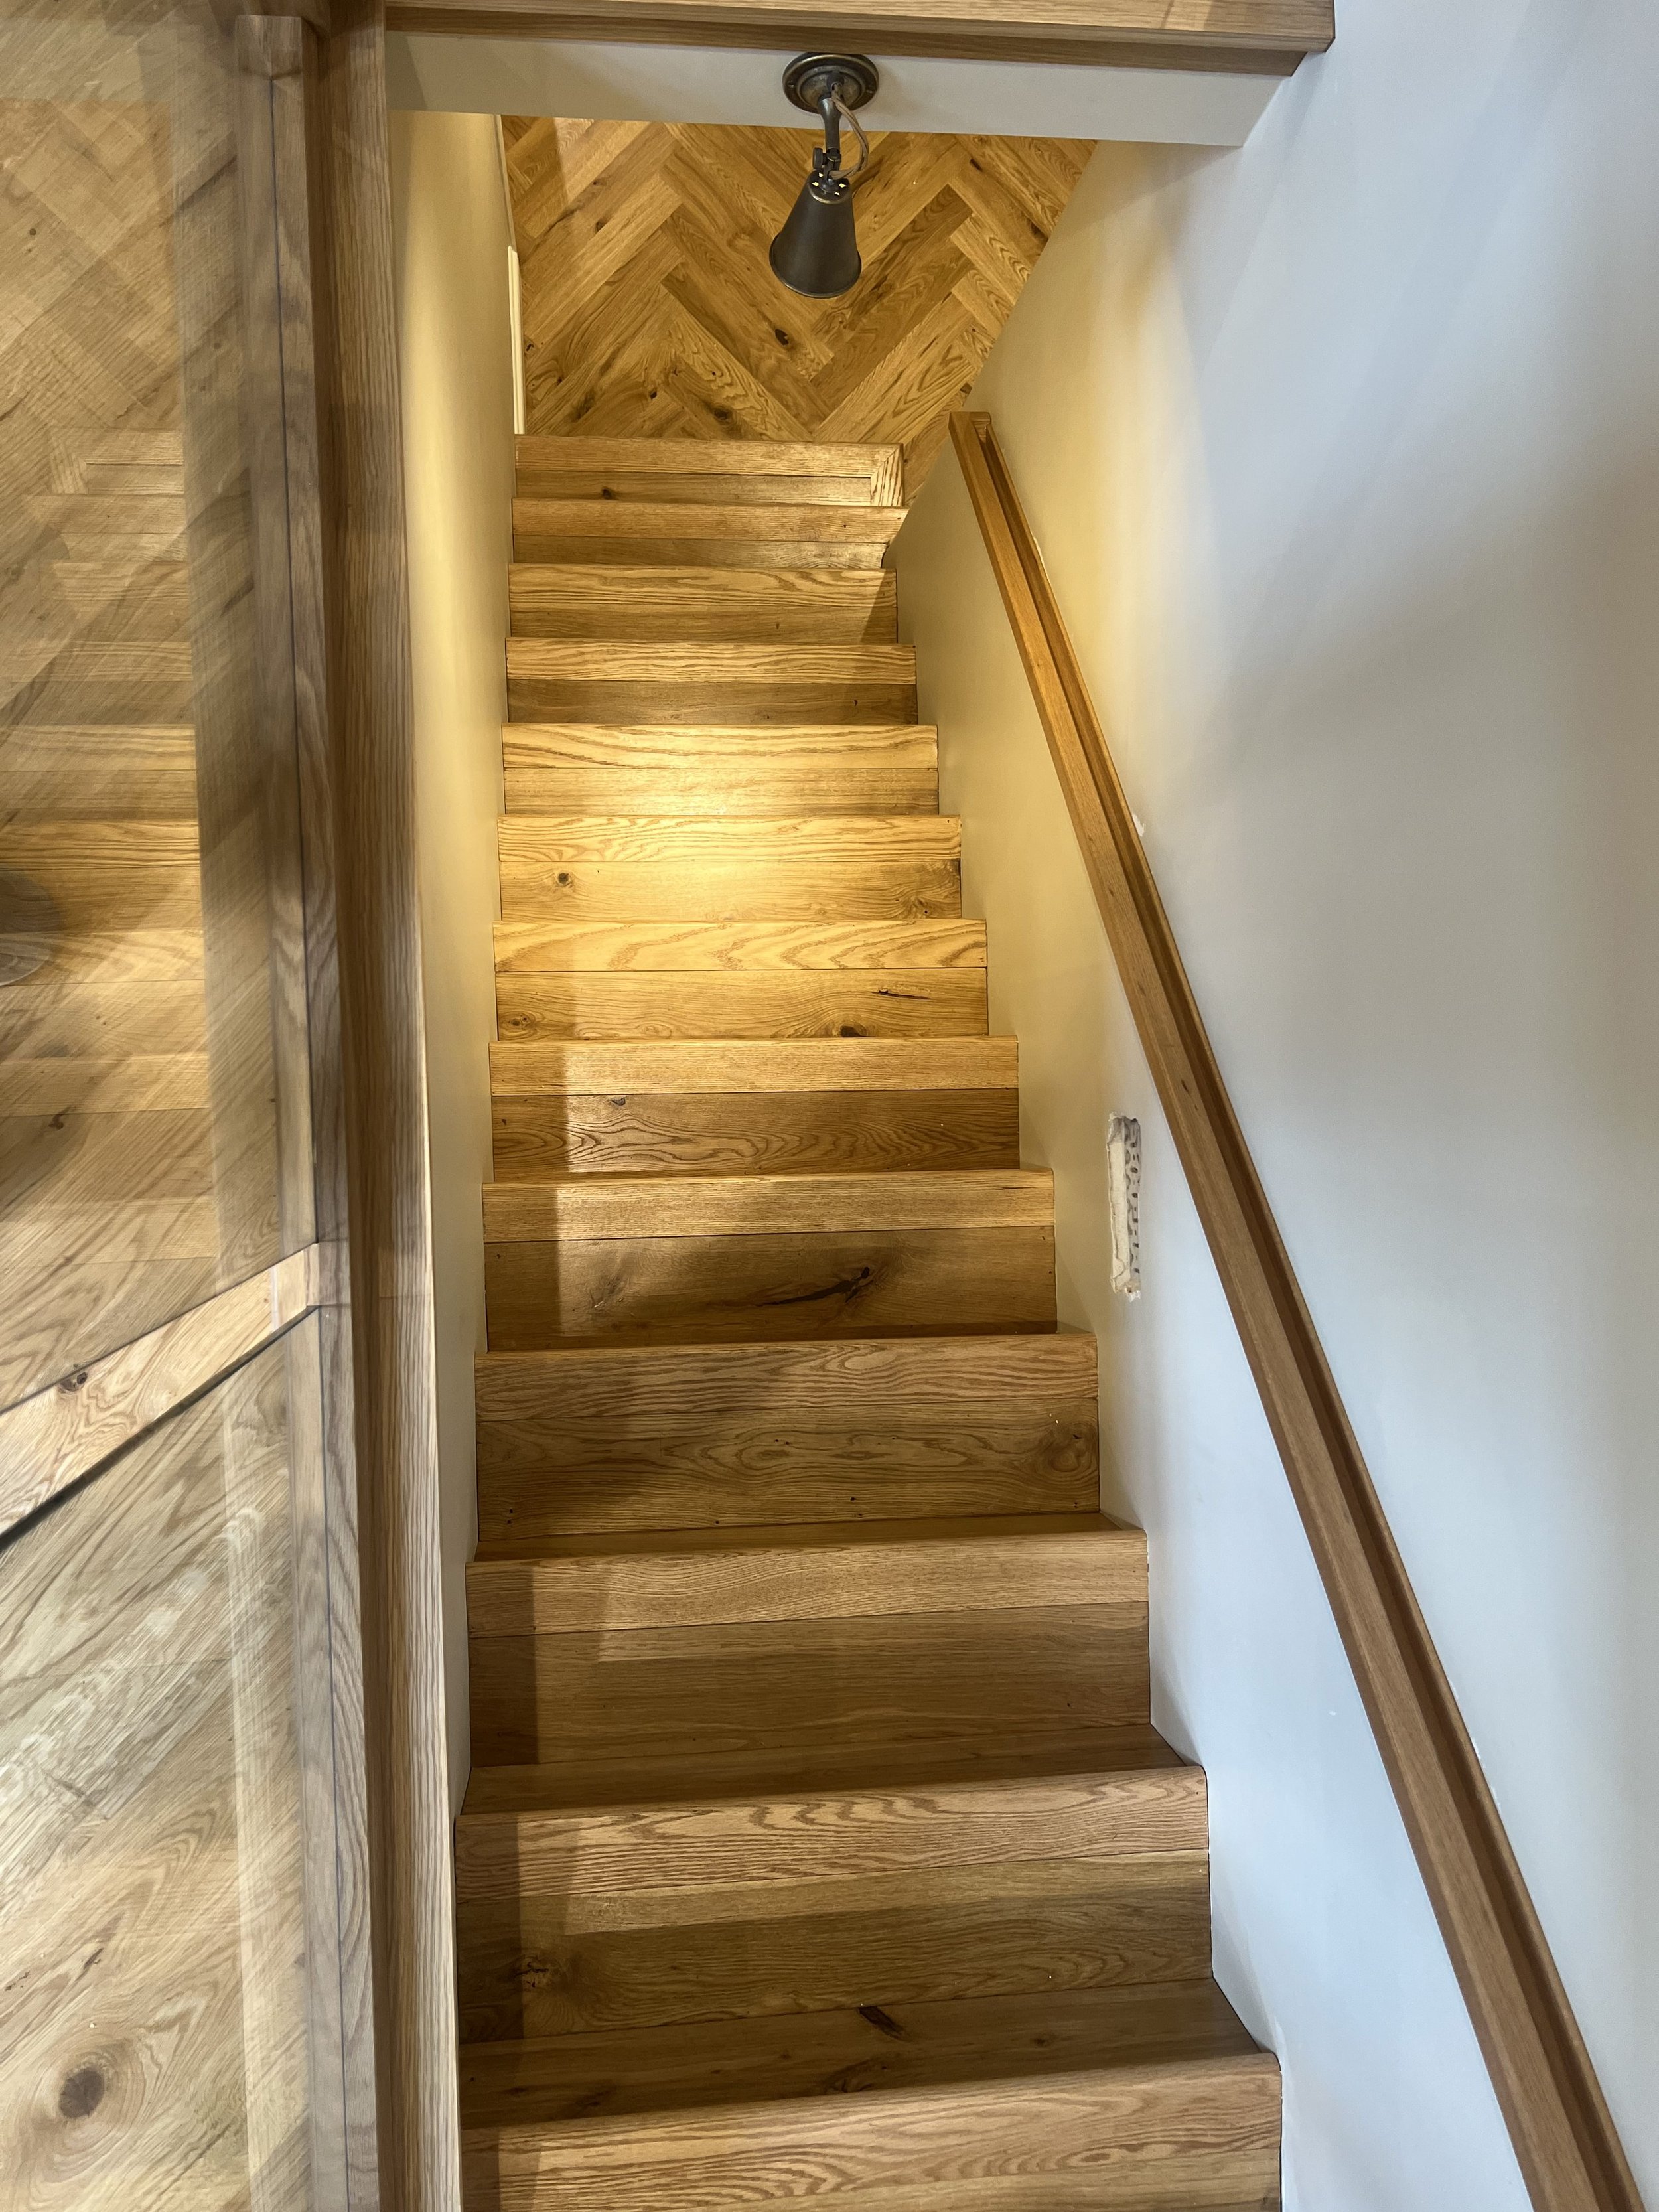
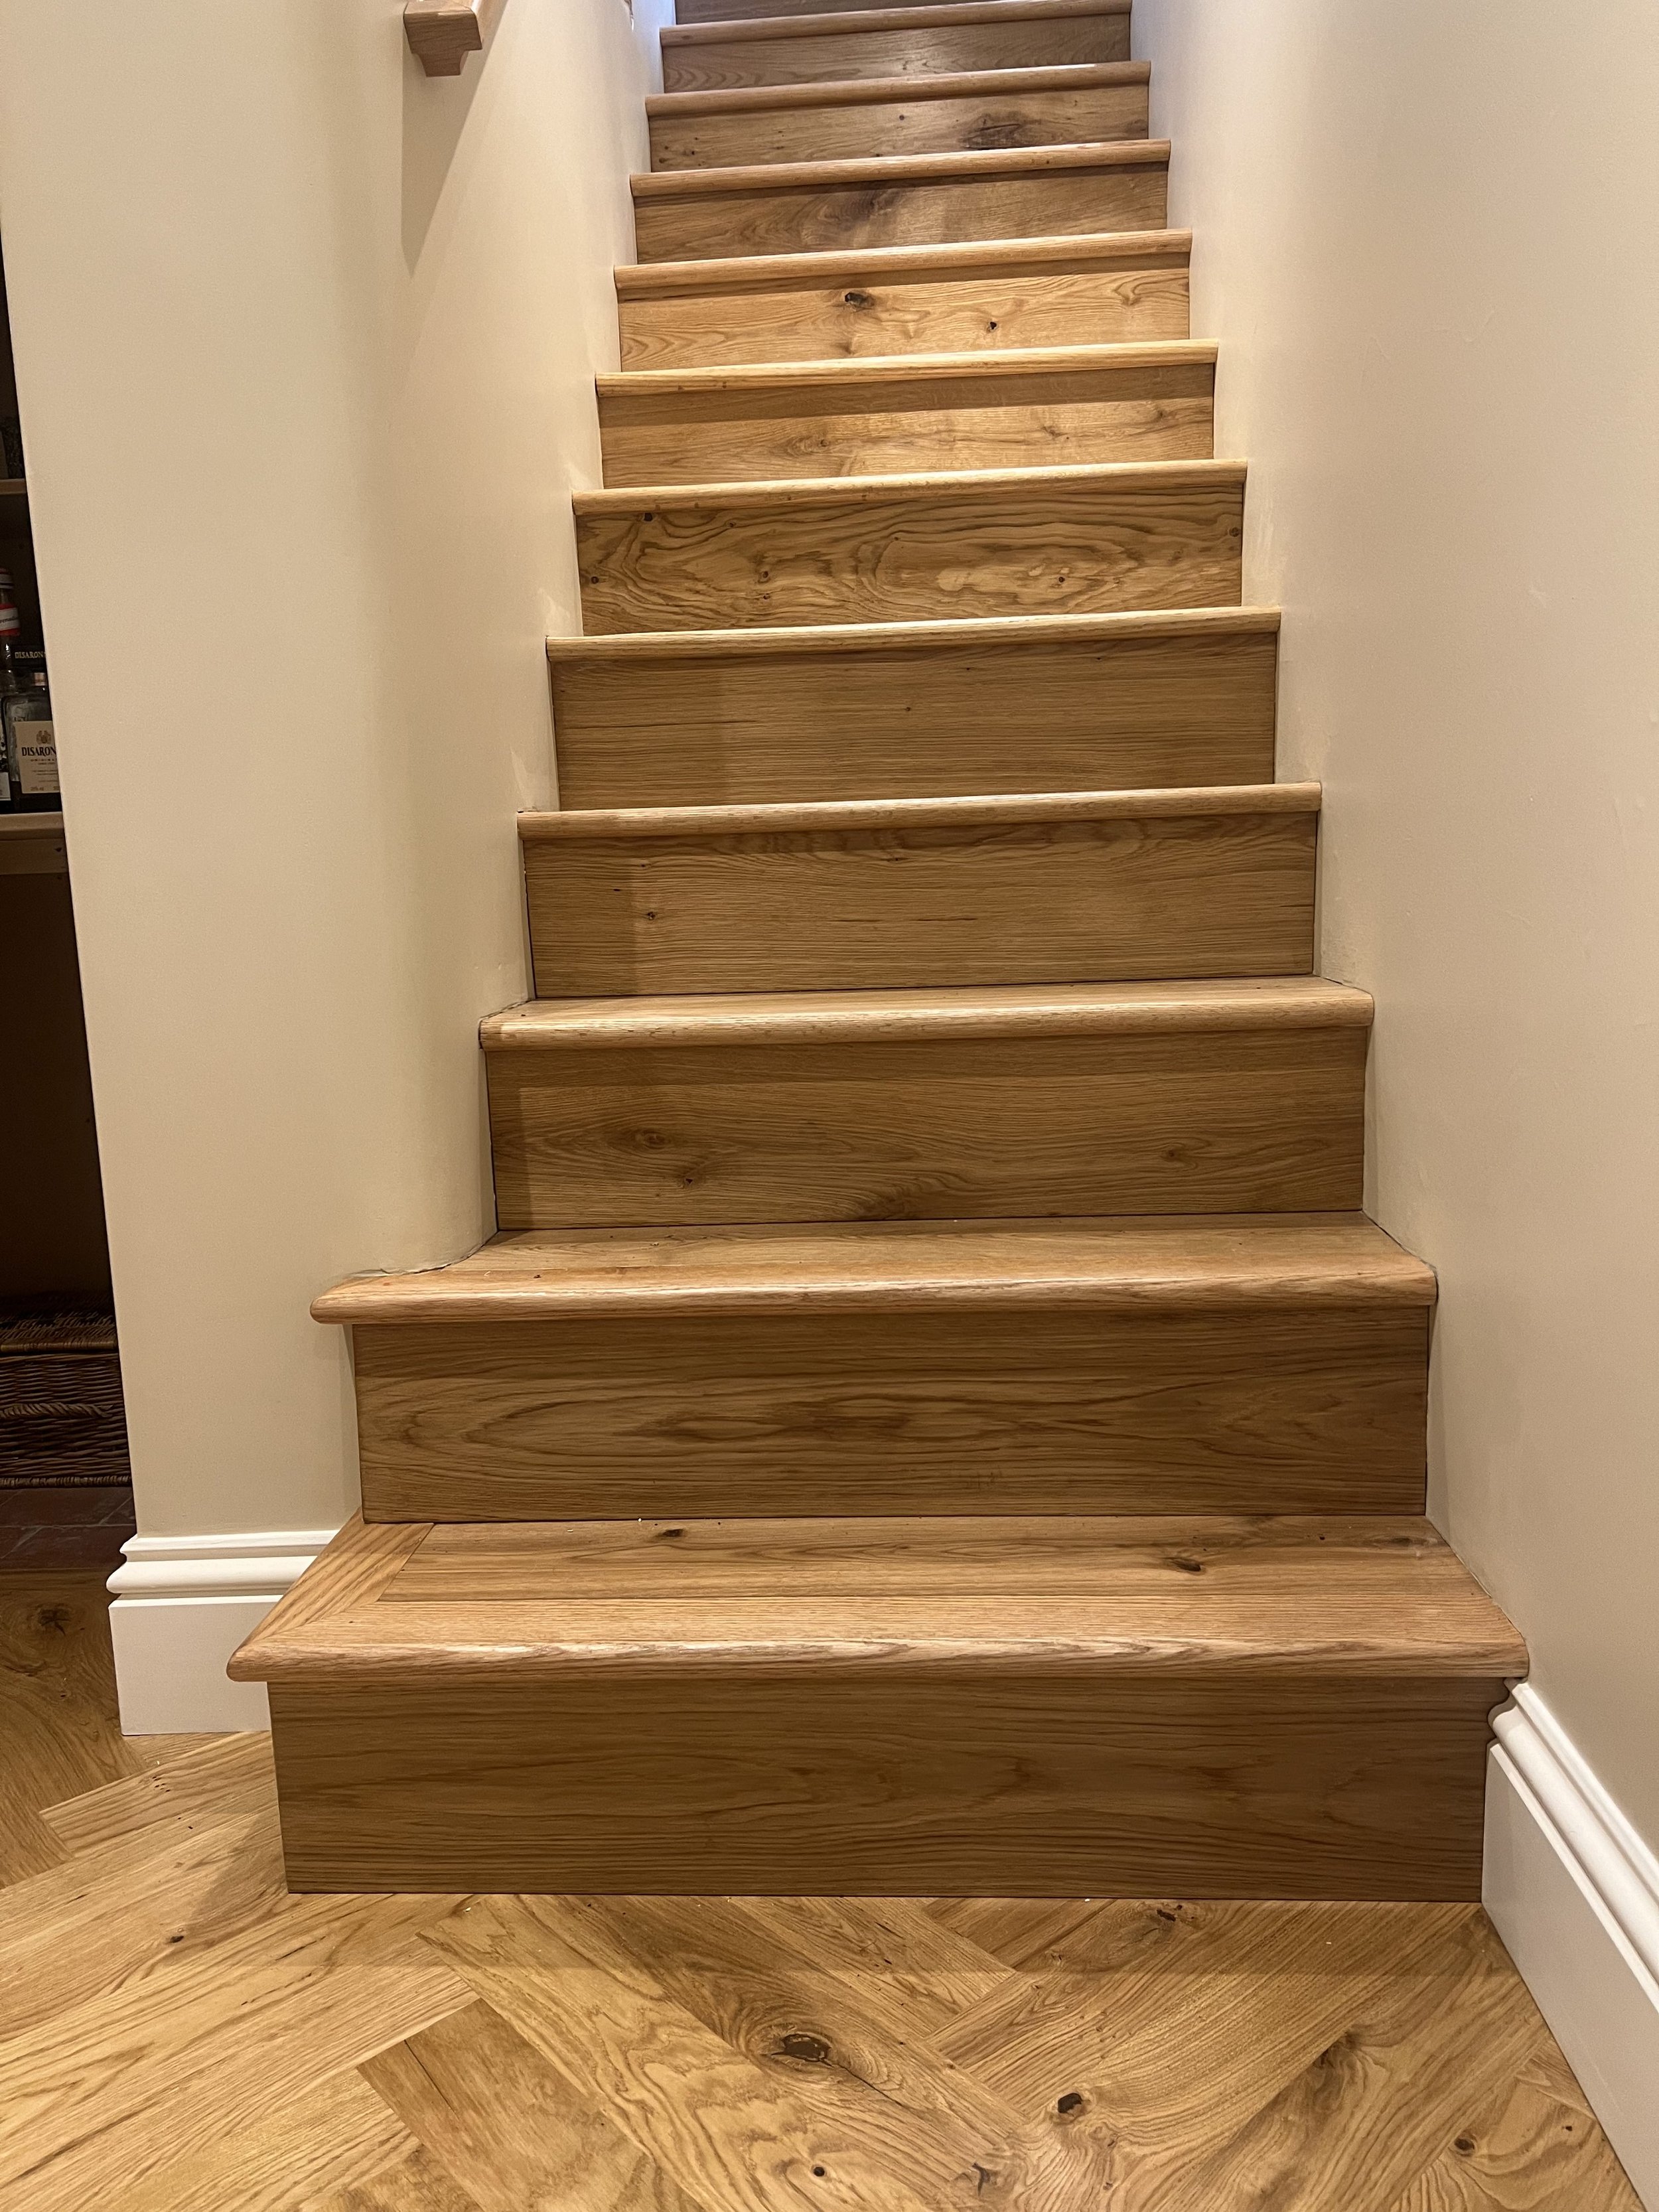
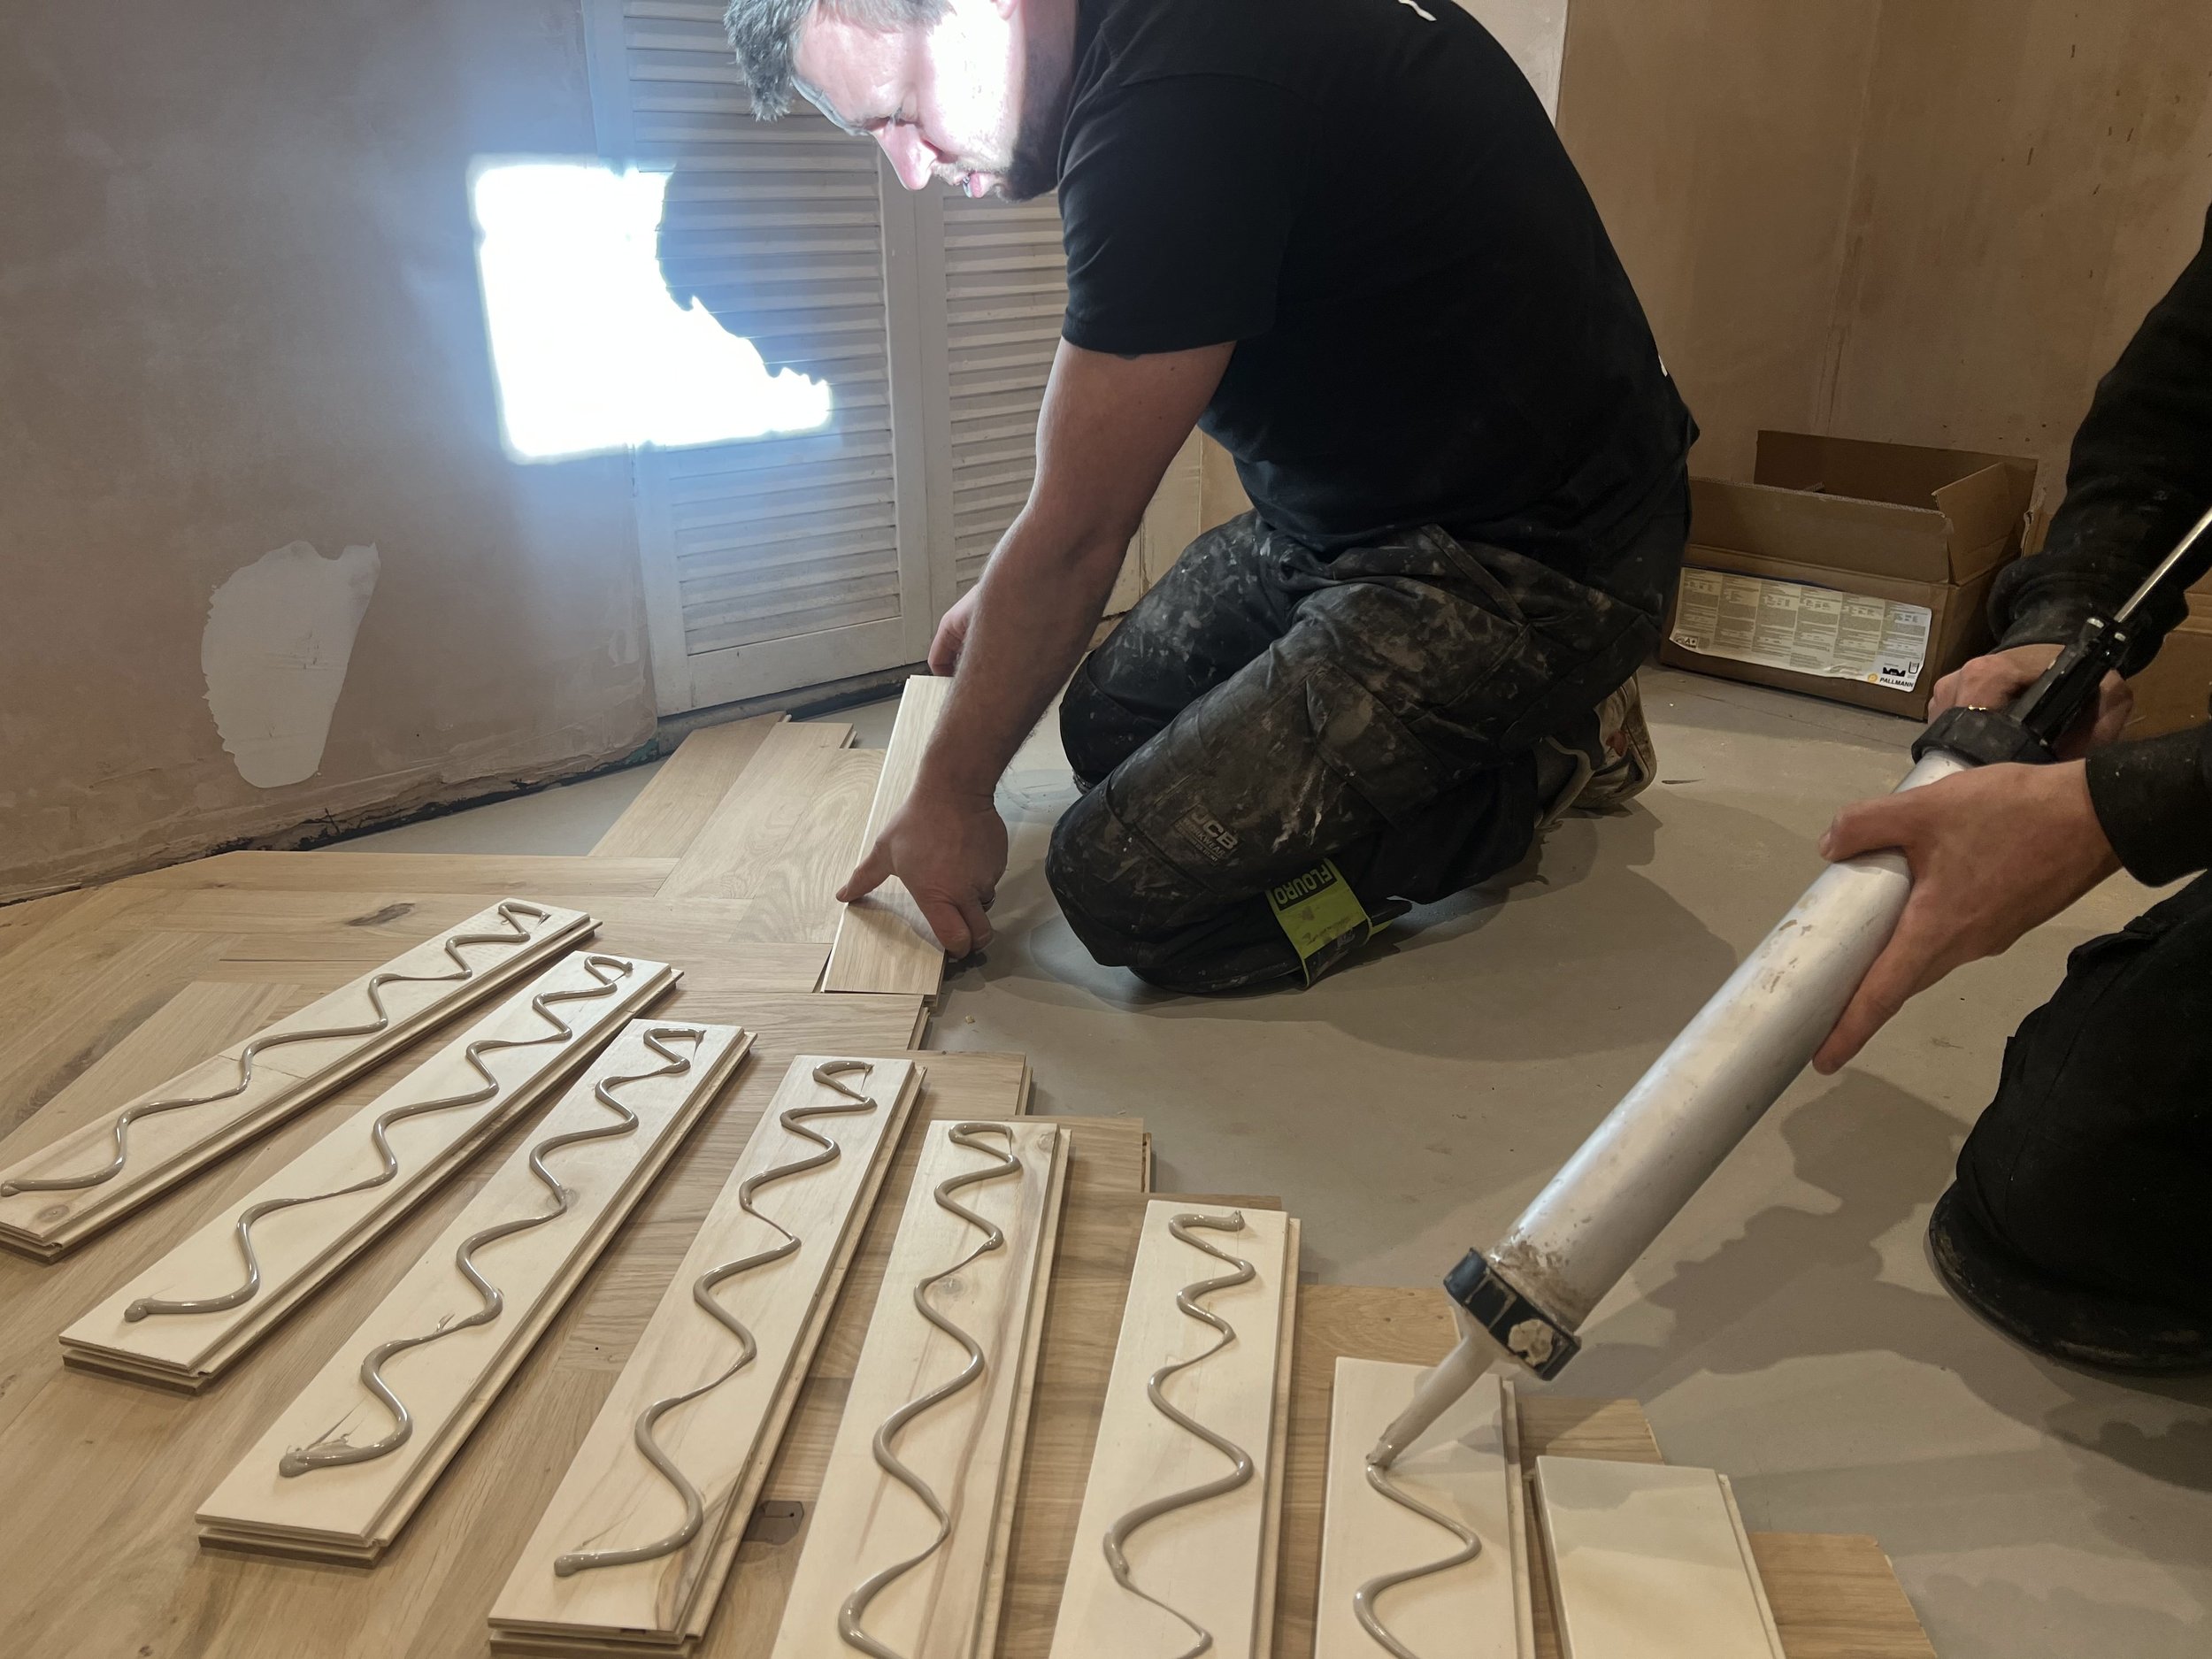
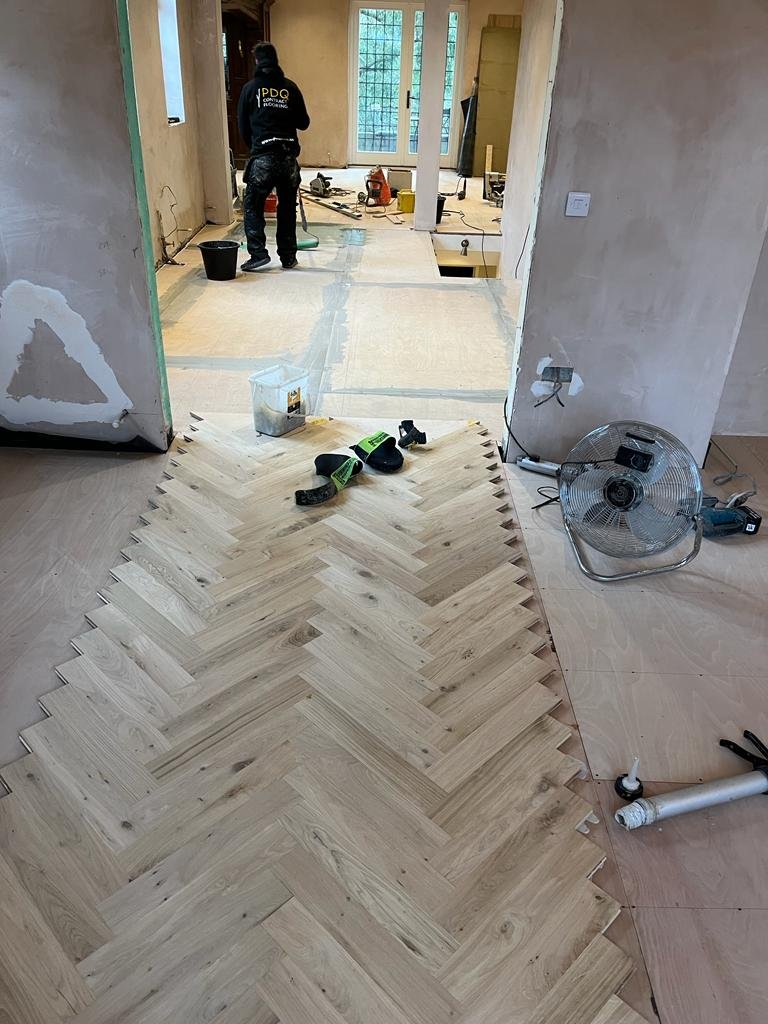
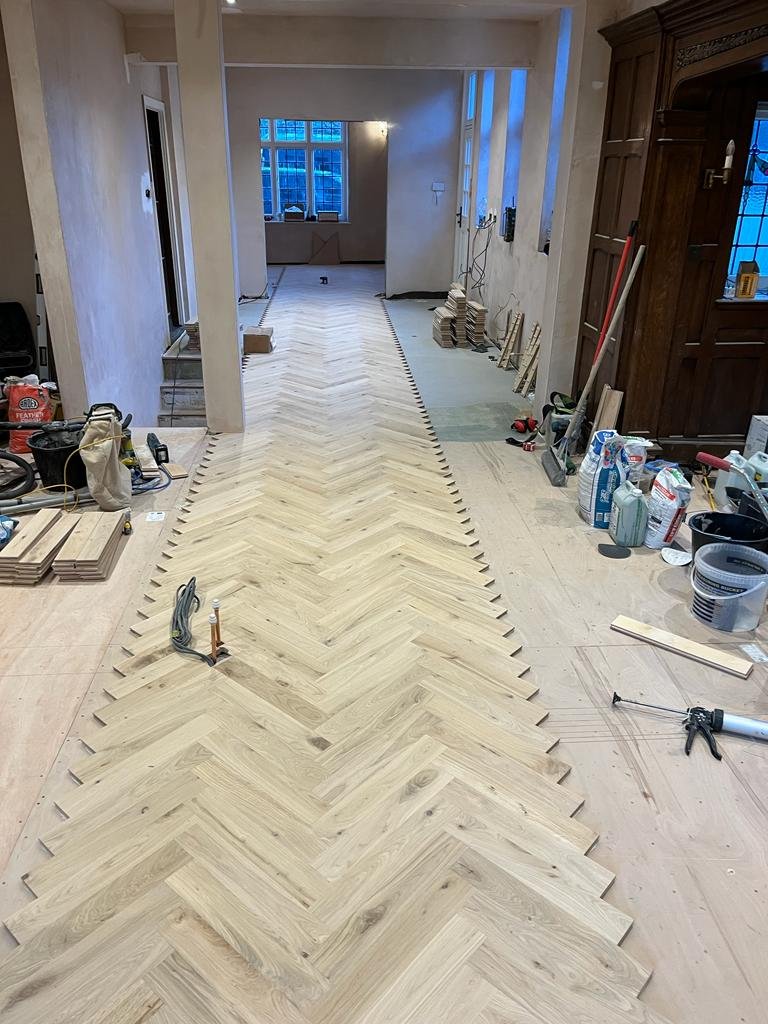
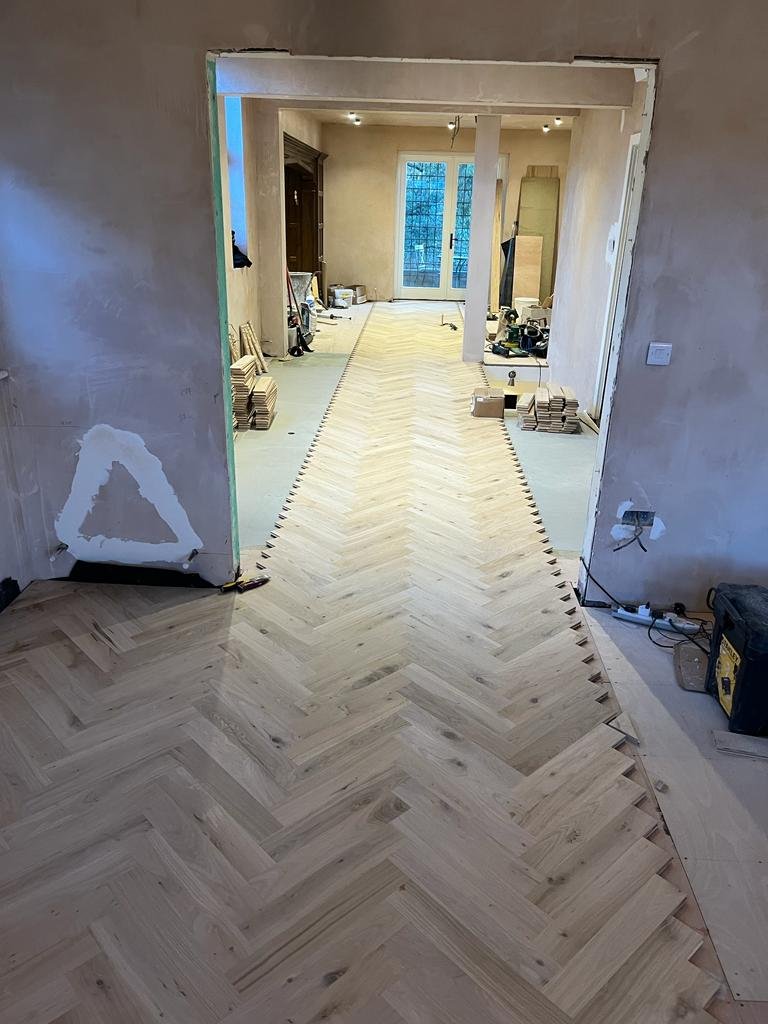
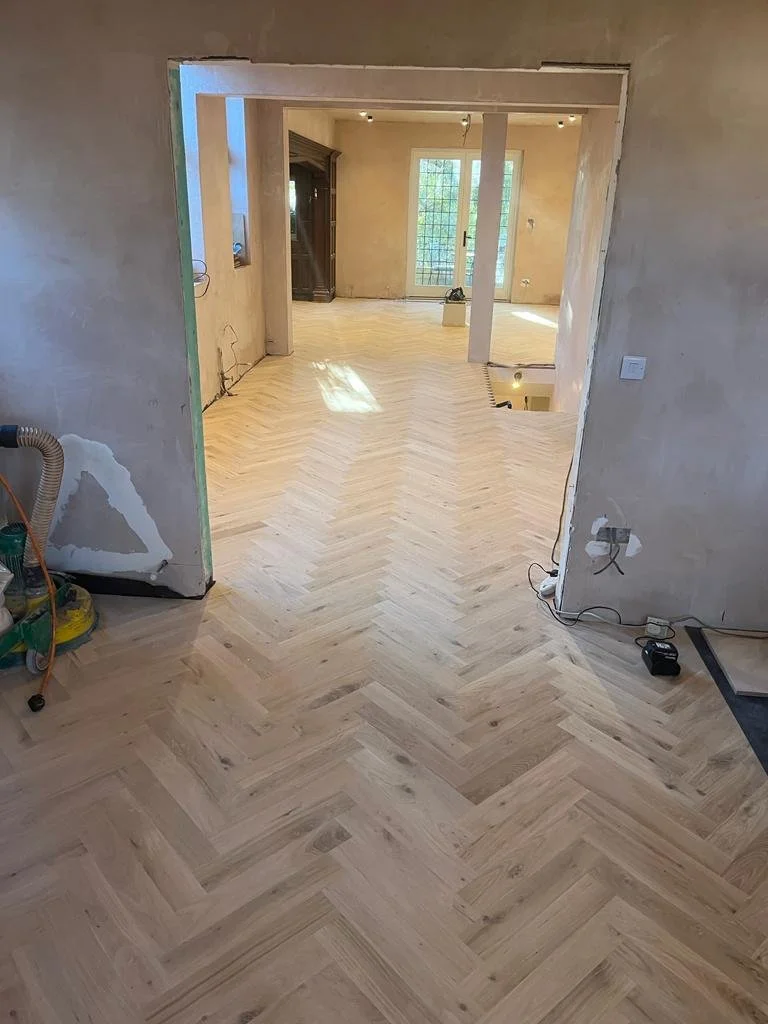
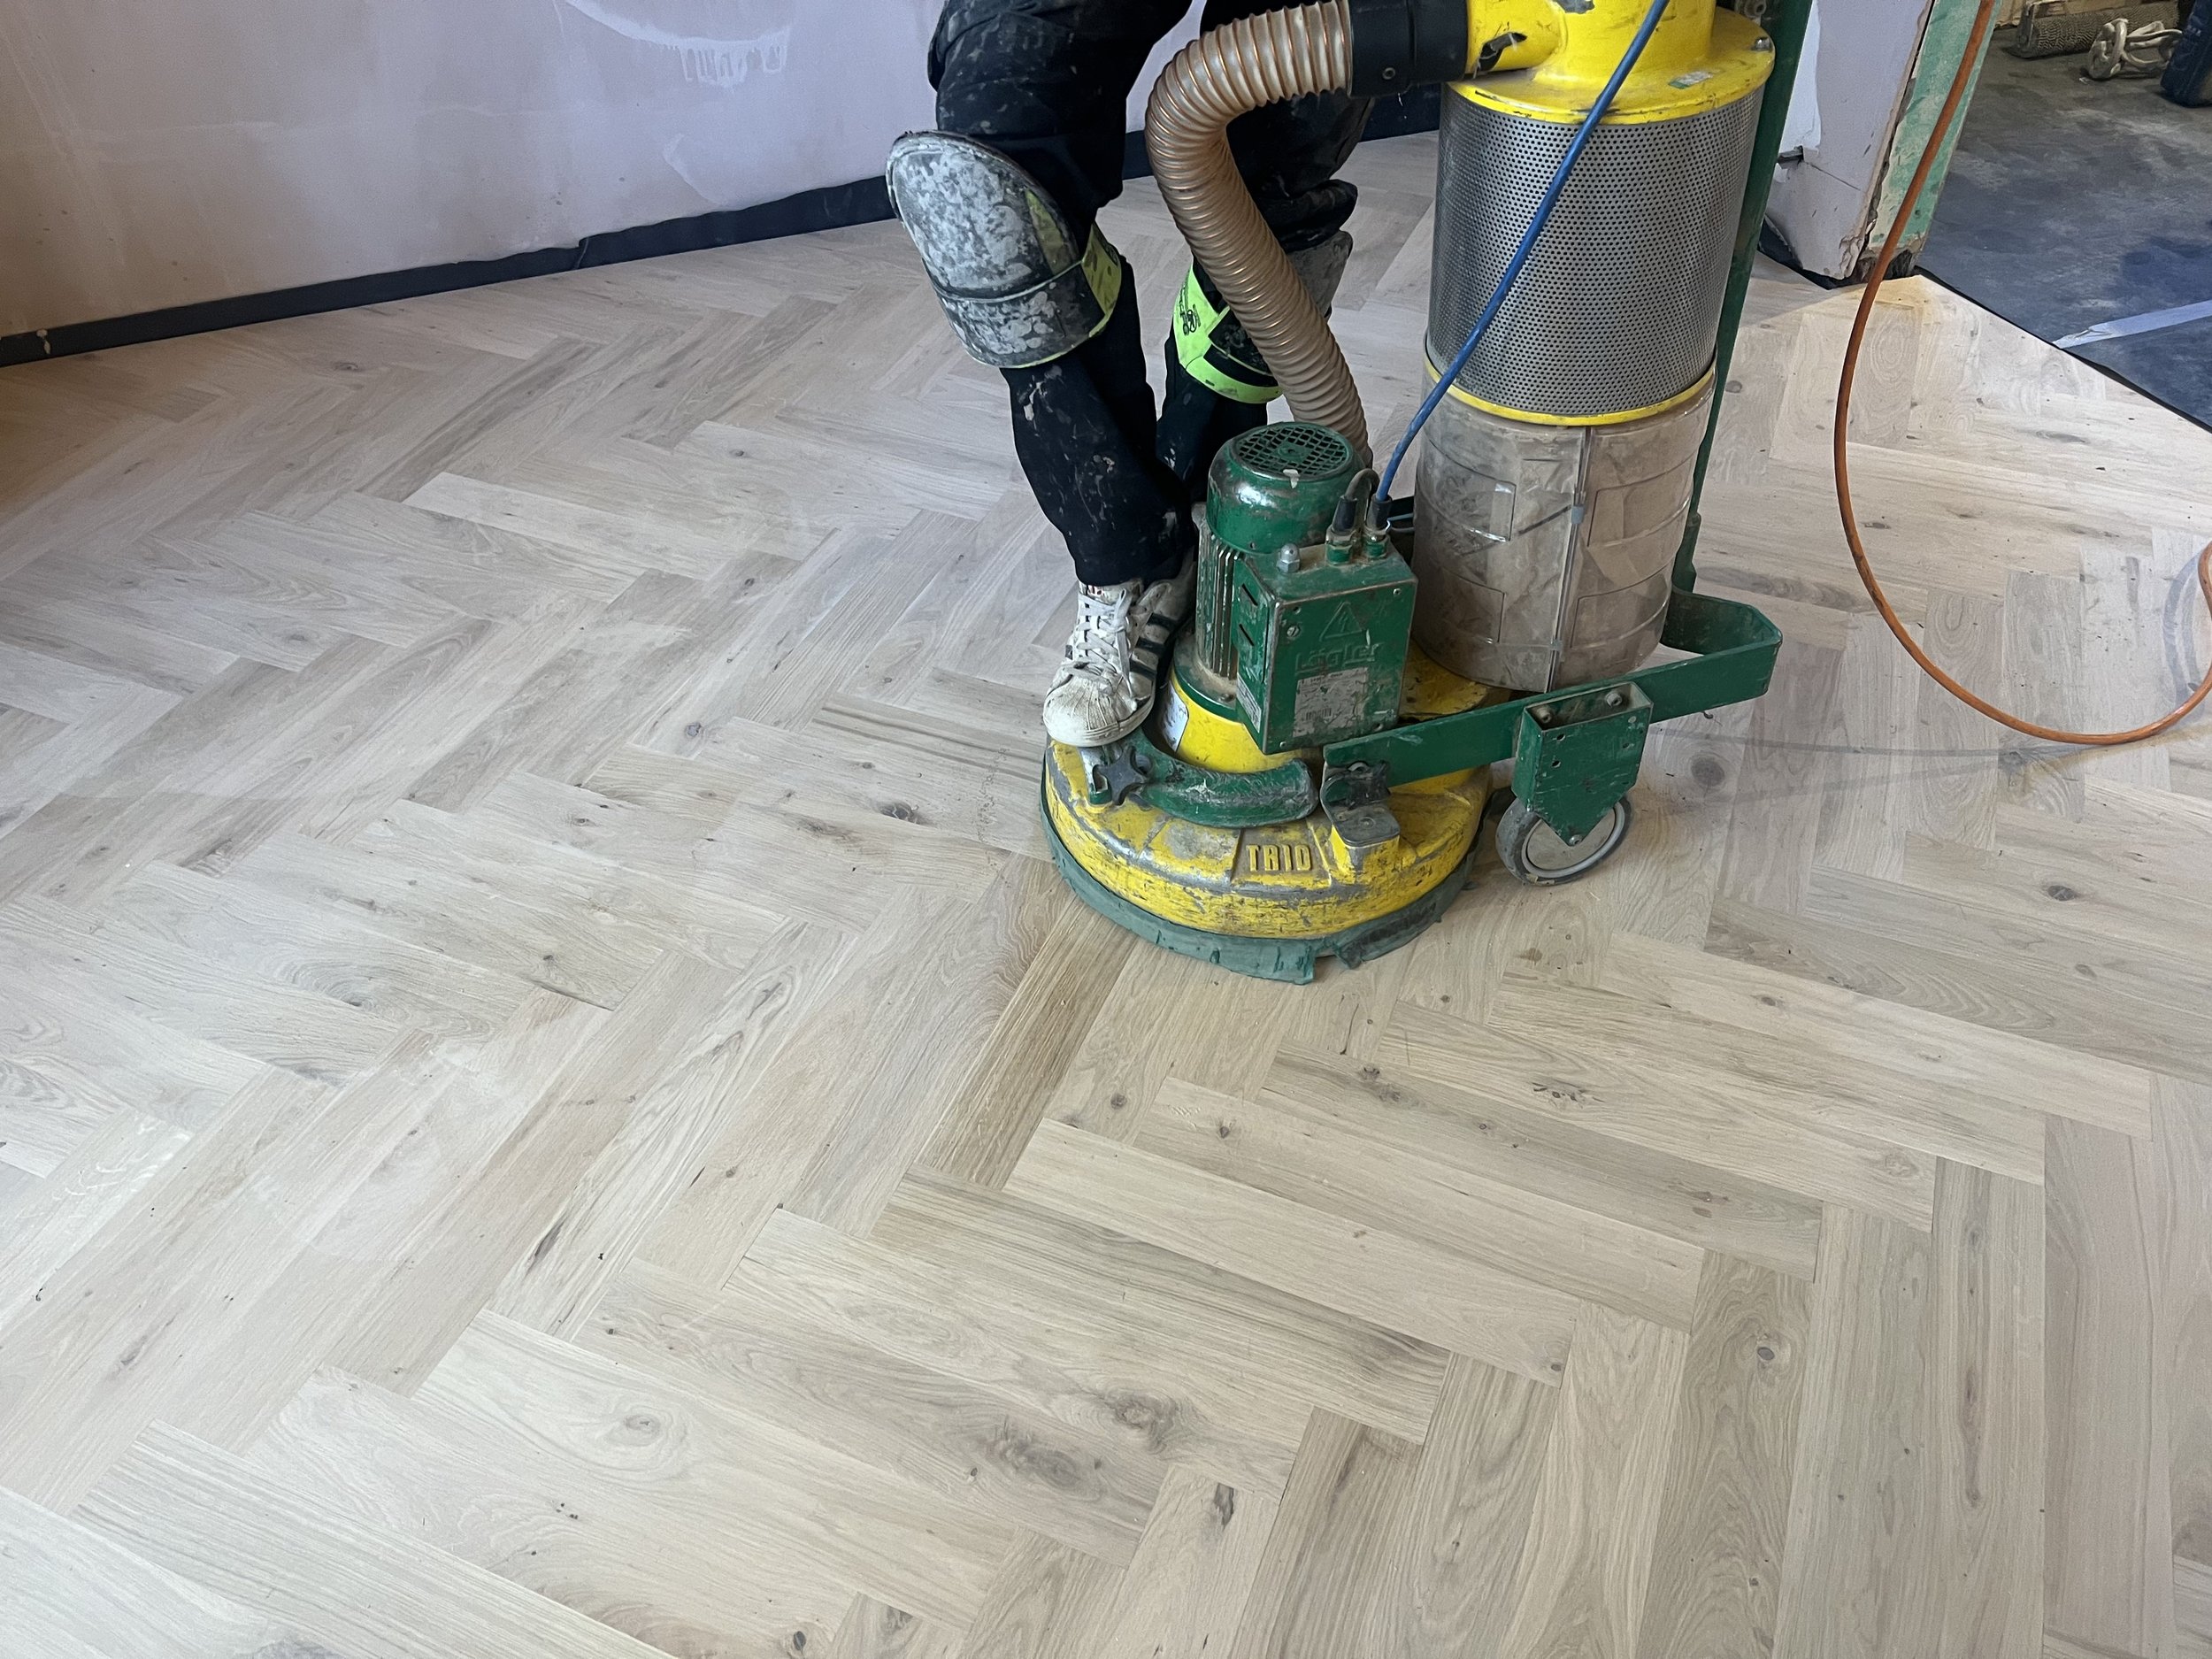
After all the important preparation was complete, it was then time start fitting the floor and stairs. The blocks were a bespoke order from a fantastic company wood flooring and accessories company called WFA, as were the nosing’s for the stairs. After the team measured up and marked a centre line, they fixed down a line of the engineered oak boards in a herringbone pattern using a flexible wood glue. The first line has to go down laser straight, as the slightest drift in the line has a knock on effect - and can cause gaps and problems across the rest of the floor. After the entire floor was fitted, it was then onto cladding the stairs with engineered oak bands and oak stair nosings. These had to be fitted bespoke for the project, with the stairs not being square. Then it was on to the sanding and oiling of the floor. We used our professional dust free sanding machines to sand the floors through to 120 grit for a smooth finish. Finally we applied two coats of Osmo Satin hard wax oil for a durable natural looking finish.

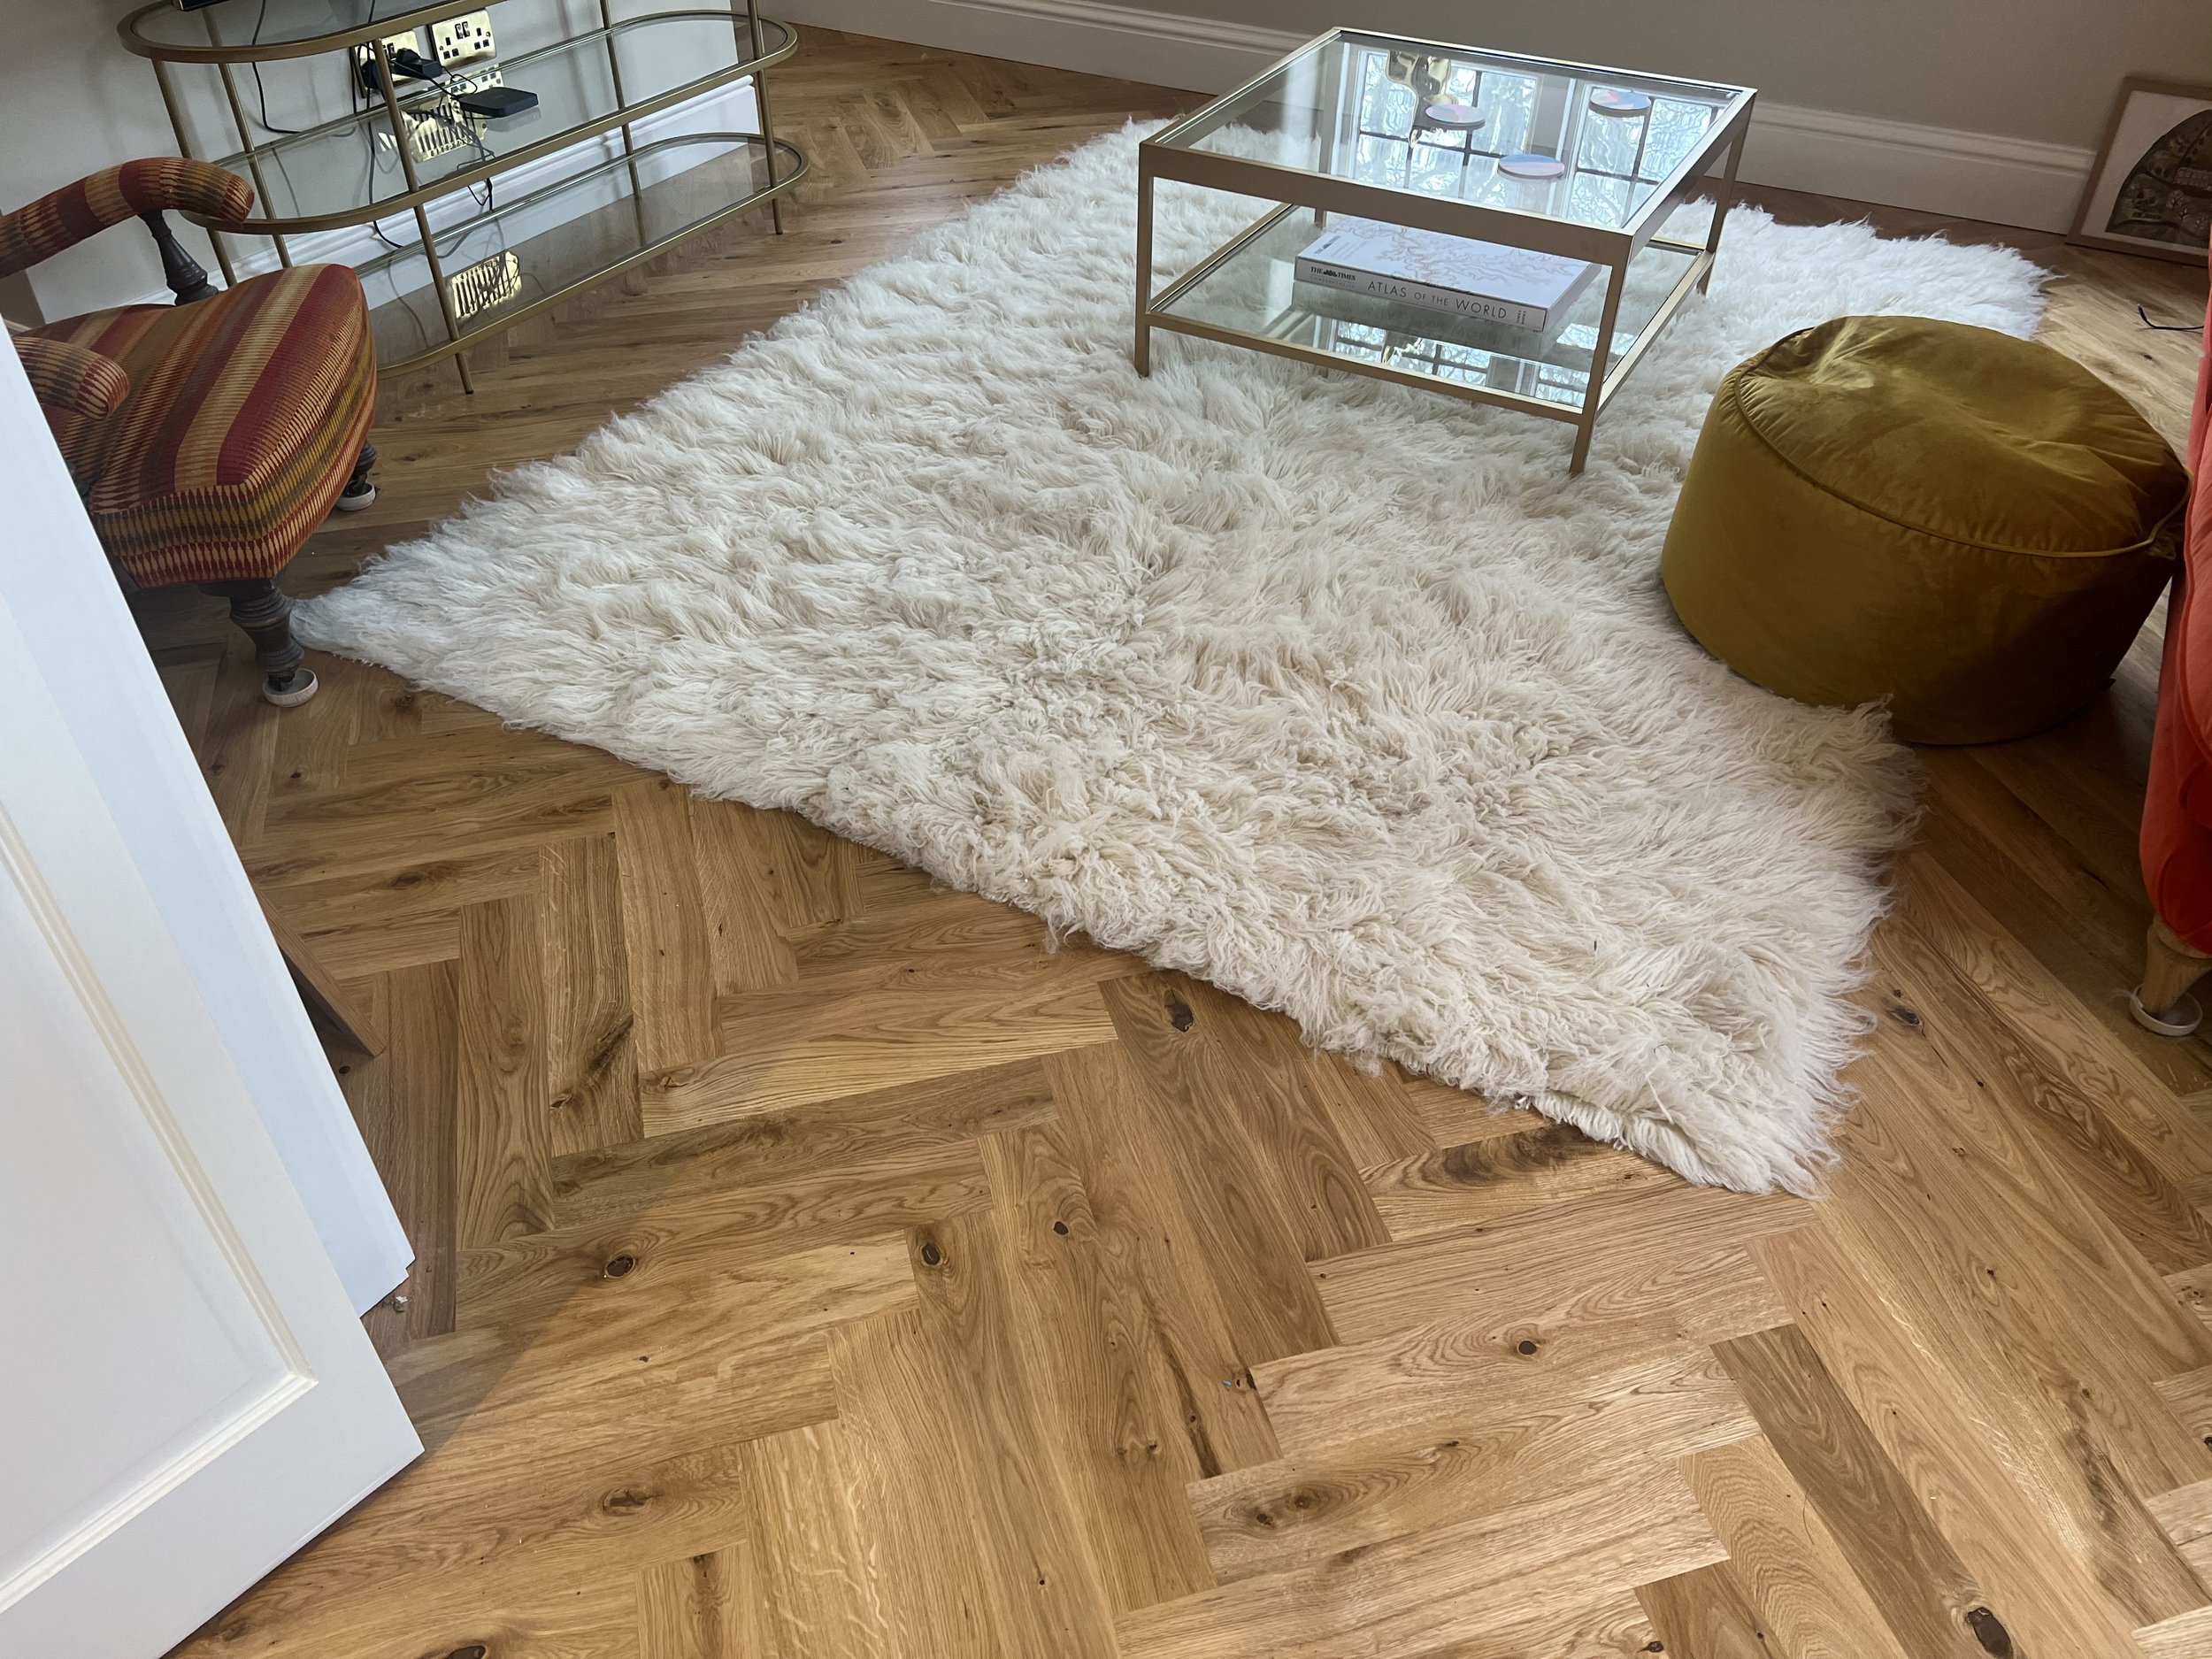
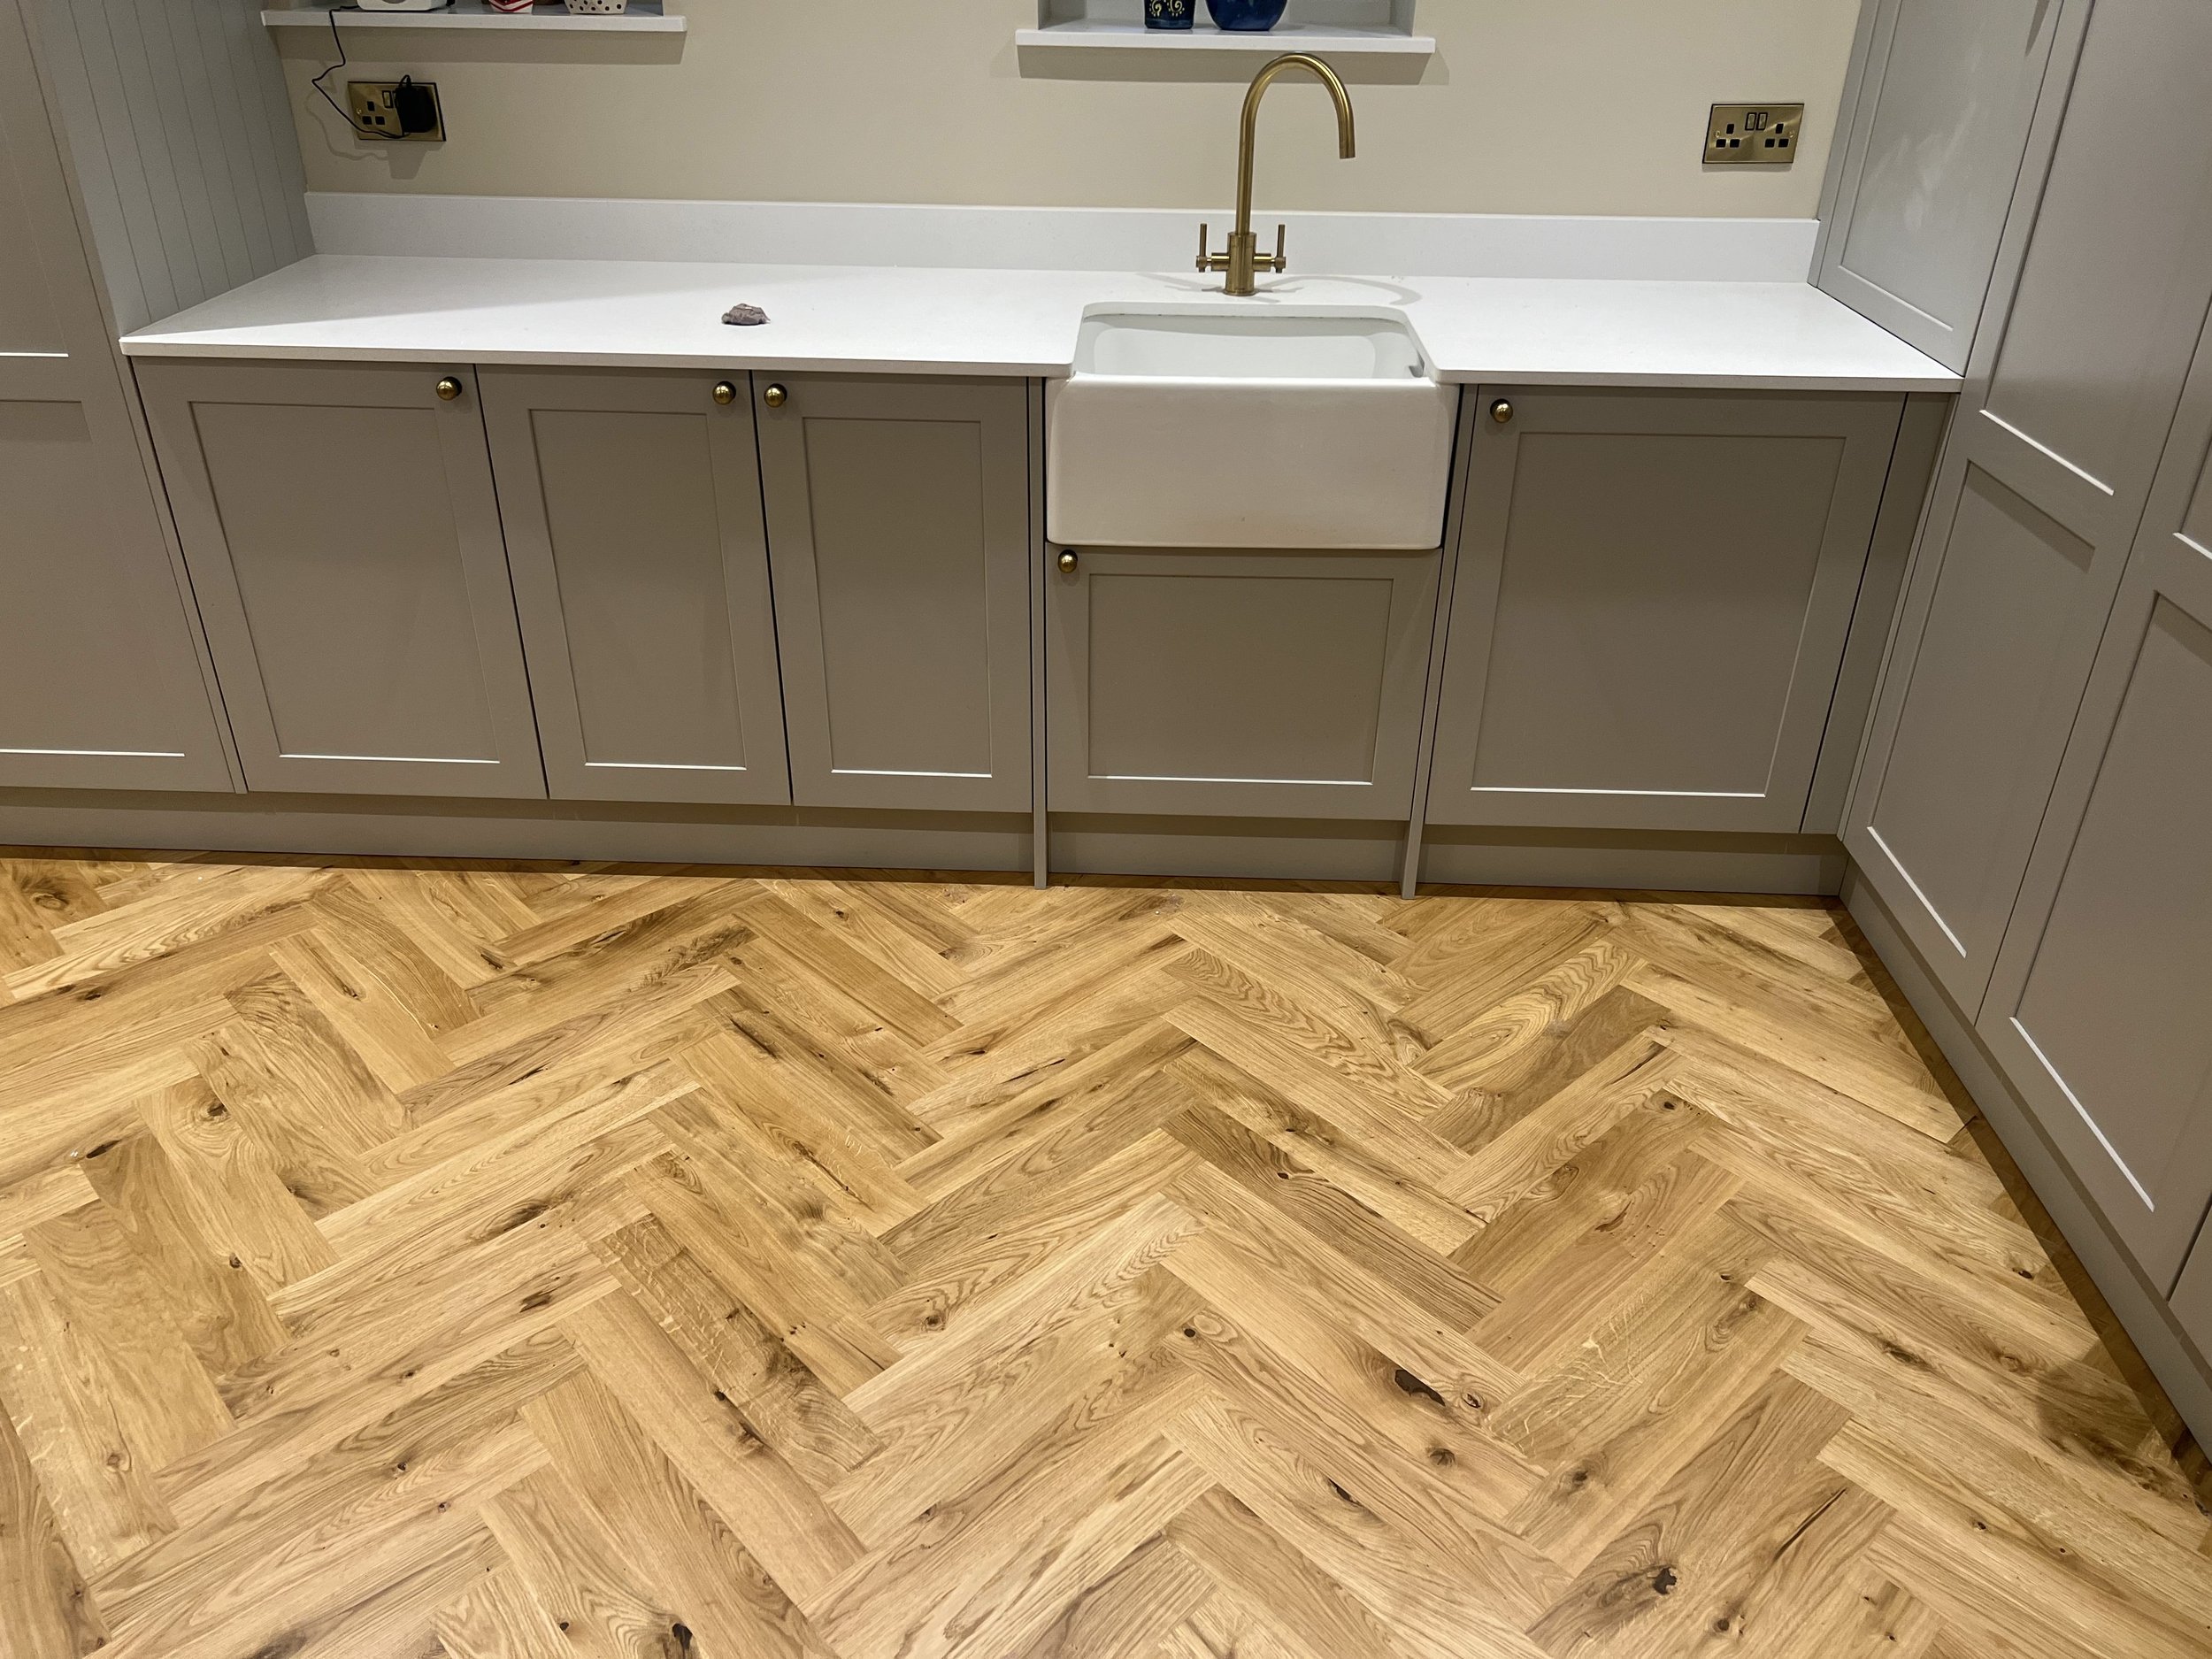
The Finished Herringbone Floor & Oak Stairs + Maintenance
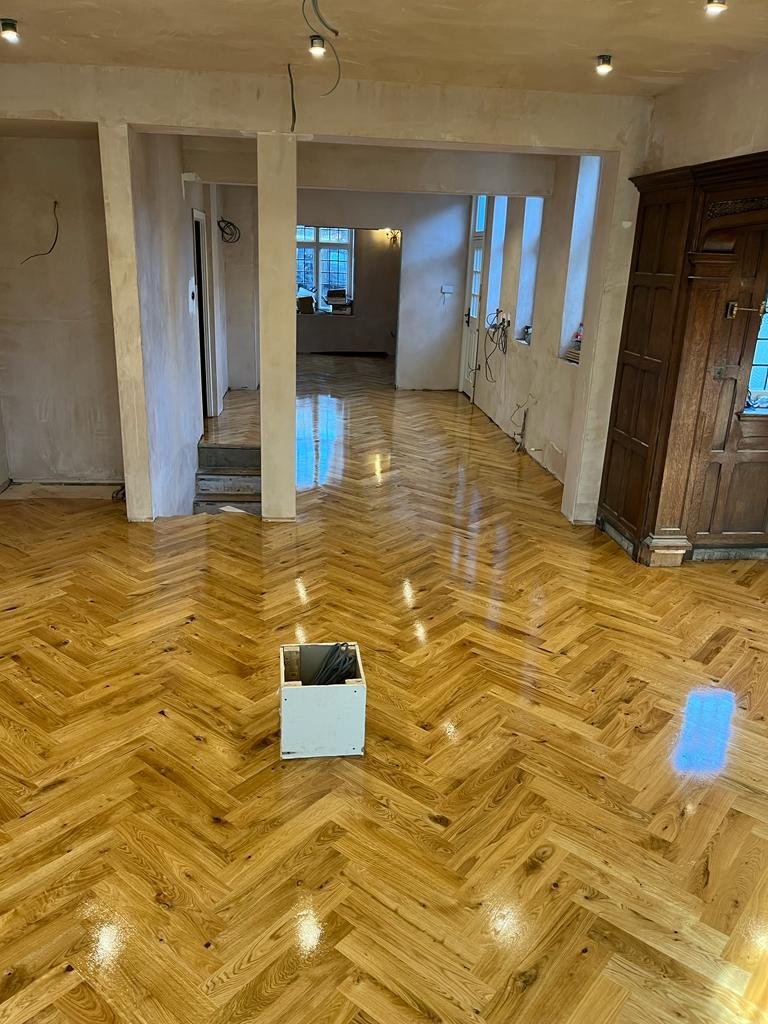
Here are a few photos of the finished floors which as you can see are now beautifully furnished. The hardwax oil now fully cured is very hardwearing and suitatable for even the kitchens and hallways. Maintaining the floors is very simple with a light mop - we’ve found these Bona mops to be very good, they even come with an inbuilt sprayer so you don’t need to use water. A floor like this can last many years before needing a re-sanding and sealing. The floor in general will last many lifetimes. The end result of this project was - I’m sure you’ll agree - well worth the careful preparation work. Our customer was over the moon with their new flooring, we are very happy too.